Friday, 27 May 2022

Woohoo! You did it! || Tutorial for My Creative Scrapbook

Hello friends! Today I've got a step-by-step tutorial which I made for one the May layouts I created with the awesome May Creative Kit from My Creative Scrapbook. This kit is so fun and happy! It features the "Celebrate" collection from Simple Stories and is just perfect for every photo you took when celebrating! Not just birthdays! I created three graduation layouts and one birthday layout with this kit. 

Here's the layout I created the step-by-step for. My son's graduation last year: 


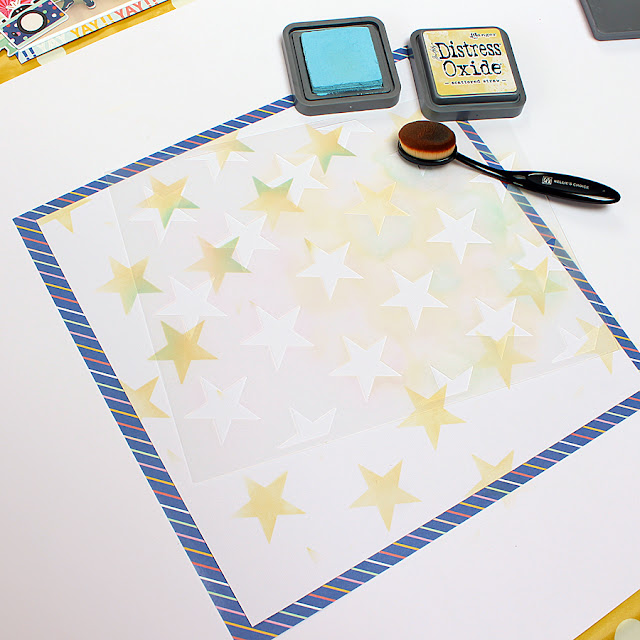
This kit came with a star stencil which I used to create a festive background:


I used a soft brush and the blue (tumbled glass) Distress Oxide and yellow (scattered straw) Distress Oxide to color the stars. To begin I colored the stars entirely yellow and then I went in a second time and gave all the yellow stars on one side a bit of a blue touch:


Next I punched a load of flags:


And using my sewing machine I sewed them all together:


Next I decided where I wanted my photo and one of the journaling cards I loved. I also wanted to use one of the large foam stickers that were included in the kit: 


With my tiny attacher I stapled the garland in place. First the left and right corners and next in the middle: 


I really love that because I stapled it in place it's still loose enough to move left/right/forward/backward. 

When I had added a few more embellishments and machine stitched around the page and on top of some of the cards, die-cuts and stickers and I was done! Here are a few detail photos of the finished page (the enamel dots are from my own stash):


This is it. Hope you like it! 

Here's a photo of the May Creative Kit I used: 


For more information about this kit (and the other 3 kits of this month) please visit the My Creative Scrapbook website and if you want to see the photos of all projects created by the design team with the various kits, please visit the Design Team Gallery.

Wishing you all a wonderful day! 

xxx Monique


No comments:

Post a Comment