Showing posts with label Carta Bella. Show all posts

Sunday, 25 September 2022

Home is where the heart is || Step-by-step for My Creative Scrapbook

Hello friends! Today I've got a step-by-step tutorial which I made for one of the layouts I created using the beautiful September Creative Kit from My Creative Scrapbook and one of the free subscriber cut files. This month the Creative Kit features the "Farmhouse Summer" collection from Carta Bella Paper/Echo Park Paper.  

Here's the layout I created the step-by-step for:


I started with displaying the products I had left over from the kit after creating three layouts already:


For this layout I cut out one of the free subscriber cutfiles from Pearttree Cutfiles called "Heart of the Home" (it's an old one from September last year) using my Silhouette and placed this on a sheet of dark green patterned paper called "Simple Summer Flower". I chose a photo of my daughter and her partner in their brand new home (and my youngest, as we were visiting):


From all four sides of the patterned paper I tore off thin strips of paper using a metal ruler to get distressed edges:


Next I matted the photo, but before adhering I distressed the edges of this paper as well:


I decided to hand cut some of the flowers from the "Blessed Blooms" paper:


Loving the soft colors of these flowers!


I filled the hearts of the cut file with the red chequered paper called "Fresh Picks" and already loved the result. The flowers and the house itself I left as is: 


After arranging and re-arranging my photo I came to the conclusion that I needed another small photo to place above my original photo. I printed one of our Cocker Spaniel, who was also visiting. 


I decided to place the green base of my layout on a sheet with small flowers, which is the B-side of the sheet called "Multi Journaling Cards". 

After adding lots of embellishments, my layout was more or less done. I just had to add some machine stitching and to write a few lines of journaling with a white pen. 


And that's it! 
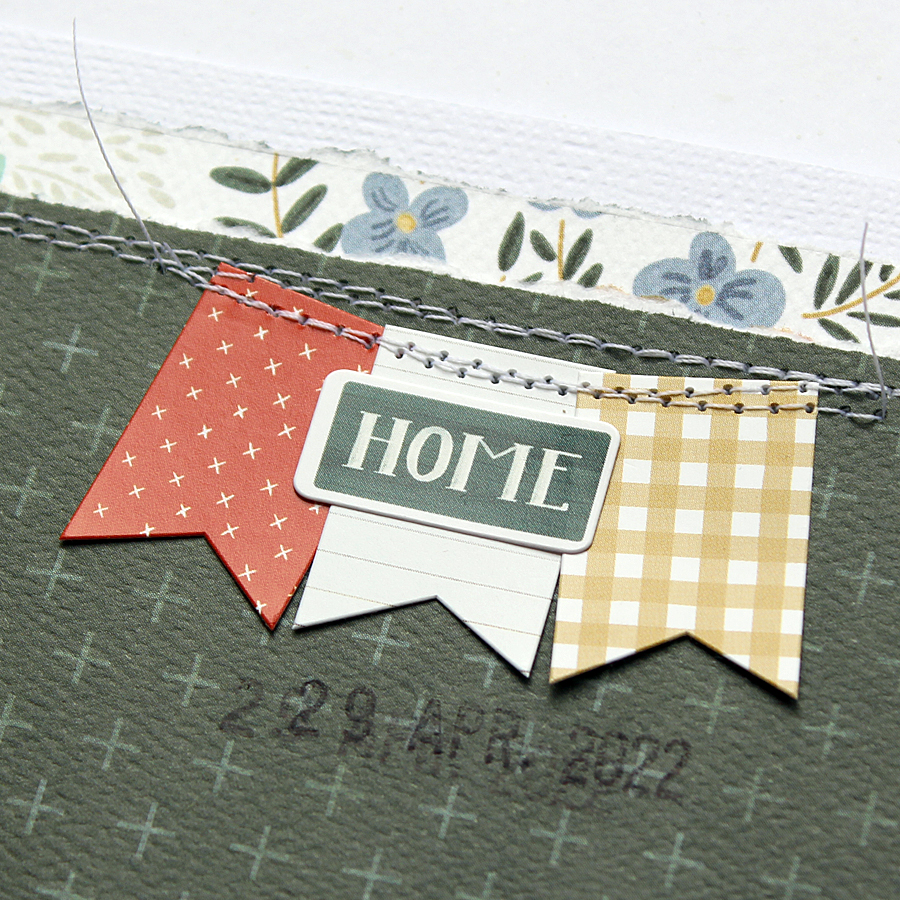
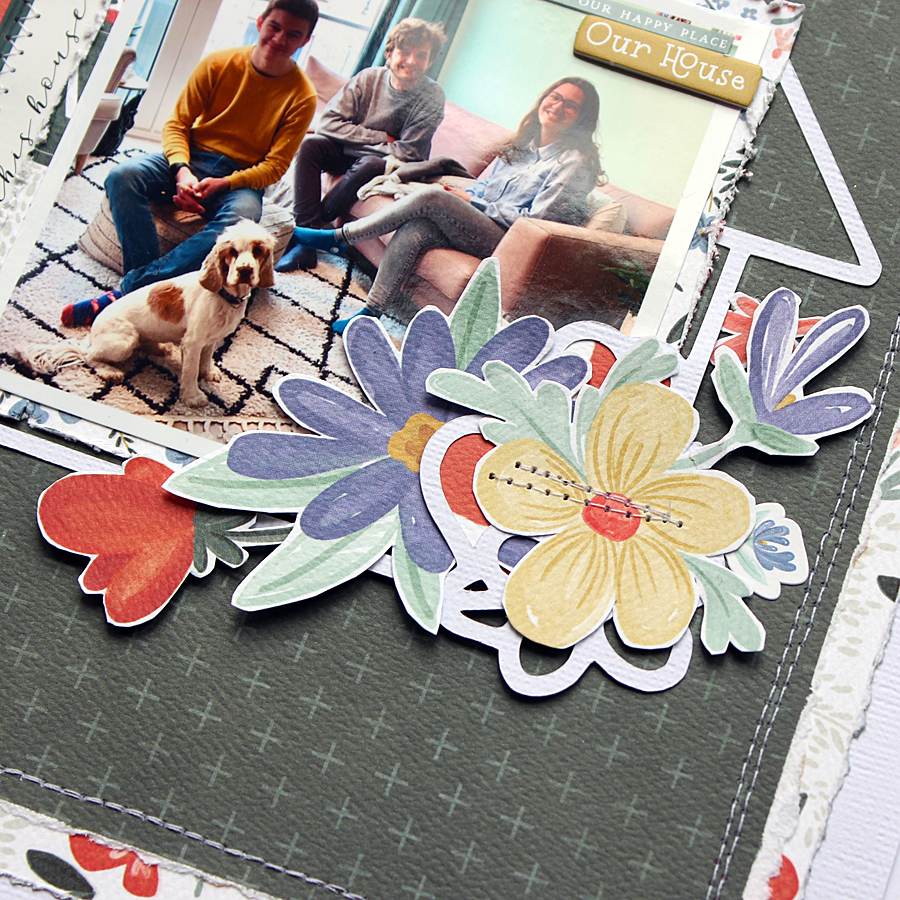
Here are a few close-ups:


Hope you like it! 

Here's a photo of the June Creative Kit I used: 


For more information about this kit (and the other 3 kits of this month) please visit the My Creative Scrapbook website and if you want to see the photos of all projects created by the design team with the various kits, please visit the Design Team Gallery.

Wishing you all a wonderful day! 

xxx Monique

Wednesday, 20 October 2021

PUMPKIN SPICE || STEP-BY-STEP MY CREATIVE SCRAPBOOK OCTOBER CREATIVE KIT

Hello friends! I thought I would share the layout and step-by-step I created for My Creative Scrapbook using their October Creative Kit featuring the "Welcome Autumn" collection from Carta Bella. I so love the Fall colors in this kit! They are a bit like the colors in my living room, lol. Can you tell Fall is my favorite season? 

Here's the layout I created:

I started with unpacking the kit.


and cutting one of the free subscriber cut files from a sheet tangerine colored cardstock using my Silhouette Cameo:


Next I decided on a background paper (Pumpkin Patch Picks) for the white cardstock and I chose and matted two photos:


Using the inside pieces from the cut file I cut around the letters using various patterned papers from the kit:


Using a glue pen with a fine tip I adhered the patterned papers behind the letters of the cut file:


Which then looked like this:


I decided to use a different patterned paper for each of the words and for the pumpkin as well:


I really love the result! The Fall colors and patterns in this kit are just so awesome!

The rest of the page came together so easily. I adhered the with background cardstock (11.5" x 11.5") on top of the (12" x 12") orange chequered paper. The cut file was adhered on top of the white cardstock with the two matted photos above it. Placing some die-cuts and stickers around the photos and a bit of journaling at the bottom, my page was almost finished. What was missing was the machine stitching and the few drops of paint of course! After adding that as well, my page was done! 

Here are a few close-up photos:


Thank you so much for stopping by the blog today! I hope I've been able to inspire you to use the October Creative Kit! 


For more information about this kit (and the other 3 kits of this month) please visit the My Creative Scrapbook website and if you want to see the photos of all projects created by the design team with the various kits, please visit the Design Team Gallery.

Wishing you a wonderful day! 

xxx Monique

Sunday, 1 December 2019

JustNick Studio - 12 Days of Giveaways! | Holly Jolly Christmas!


Hello friends! I'm so happy to kick off the Christmas celebrations at JustNick Studio with the "12 Days of Giveaways"!!

It's beginning to look a lot like Christmas and we have started the celebrations early! For the next 12 days JustNick Studio will be giving away a free cut file every day! Today the free cut file is this Geo Reindeer!


Doesn't he look awesome?! Here's what I created with it:


I started my page by adding some light blue water color paint where I wanted to place the cut reindeer. On top I used a text stamp from Prima Marketing which I stamped several times without re inking so I had both darker and lighter stamped images. Next came a few drops of color mist. The Geo Reindeer was cut from a sheet of Pebbles Inc. wood grain paper and I covered it with silver embellishment mousse from Nuvo. You can't see it very well but the silver is very shiny.


On top of the cut reindeer I adhered some stickers so he doesn't look so huge. Of course his antlers needed a bit of Christmas decoration as well.


For my page I used Carta Bella's "Santa's Workshop" collection which is from last year, but as I loved it so much I saved it. This is silly of course so I decided now was the time to use it.


The text chipboards are a favorite of mine too and are from Tim Holtz:


The photos are of my super cute English Cocker Spaniel puppy who was wearing her reindeer suit (which she doesn't like at all!):


This is my page for today! Hope you like it!!


If you love this "Geo Reindeer" cut file too then be sure to hop over to the JustNick shop today to grab this free cut file!!

Enter the code: GEOFREE at checkout to get this design for free.
This code is only valid until midnight CST on December 1, 2019.

No purchase necessary. Coupon code must be entered to receive this item for free. No refunds will be given.The design will still be available in the JustNick Store for purchase after the discount code expires.

Wishing you a wonderful day and make sure you go back to JustNick's blog tomorrow for the new free cut file!

xoxo

Tuesday, 23 April 2019

April step-by-step My Creative Scrapbook | Beautiful

Hello friends! Today I'm sharing a step-by-step for one of the layouts I created for My Creative Scrapbook with their April Main Kit. This kit contains mainly Carta Bella's Flower Market collection and I totally adore all the beautiful papers in this kit and especially those b-sides! Red is my favorite color, and when you see the b-sides of the papers in this kit you'll understand why I love them so much!

For today I chose to do a step-by-step of my "Beautiful" layout. The photo of my daughter was taken a few years ago when we were in Greece. I love the flowers behind her in the photo and how they match not only the color of her clothes, but also the colors in this kit!


When I start with a scrapbook page I always gather my supplies close around me so I have a good look at all the products I can use:


I started with a white cardstock sheet and adhered two strips of patterned paper on the left side. The photo was matted on two pieces of patterned paper and in the largest piece of paper I cut a v form at the bottom. The photo was then placed on top of the strips of paper on the left side:


I wanted some flowers to add to the corners of the photo, but as I had no flower die-cuts left I decided to hand-cut some flowers from the "Garden Floral" paper:


When I had the flowers placed where I wanted them, I decided the white cardstock was too white and using a blender brush and a light pink ink pad I colored the cardstock around the photo a light pinkish color:


Next I wanted to use the white foam "You Make Miso Happy" Jillibean Soup alpha's for the title, but I wanted a colored title instead of a white one and tried coloring them with a few different pens before deciding the Copic Markers were the best choice to hand color the letters (the others pens didn't dry quick enough for my taste):


Look what a beautiful result. Against the white cardstock, this looks much better than a white title I think.


After adding a few more die-cuts, machine stitching, a date stamp and a few drops of ink I was done!

Here are a few more close-ups:


Here's a quick look at the April Main kit:


If you want to see all 4 April kits hop over to the MCS website and for photos of projects created by the design team with the various kit, please visit the Design Team Gallery.

Thank you so very much for stopping by! I really appreciate it! Wishing you happy crafting!

xoxo

Wednesday, 10 April 2019

My Creative Scrapbook | HELLO

Hi friends, here's another layout I created with the April Main kit from My Creative Scrapbook and the beautiful Flower Market collection from Carta Bella.

Last February we had my sister's dog to stay with us for a week and I came to realise how empty our house is without a dog in it! (high time to start looking for one again!) Of course we took some photos, which had to be scrapped:


I love my stash of hand punches and find I don't use them enough, so for this page I decided to use two of them. Love the result!


The pink cardstock with the arrows cut out of it, is actually a part of the packaging of the "You Make Miso Happy" Jillibean Soup alpha's.


Aren't these Carta Bella papers beautiful?! I'm in love!! 

Thank you so much for stopping by! I so appreciate it!
xxx
Monique