Hello friends! I've got a step-by-step tutorial I created for My Creative Scrapbook I thought I would share it here as well. The Christmas trees are part of the free subscriber December cut file created by Ashley Horton from The Cut Shoppe.
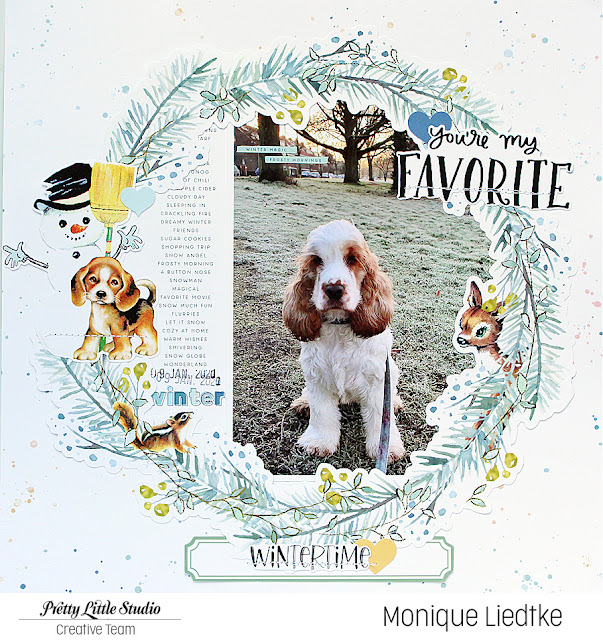
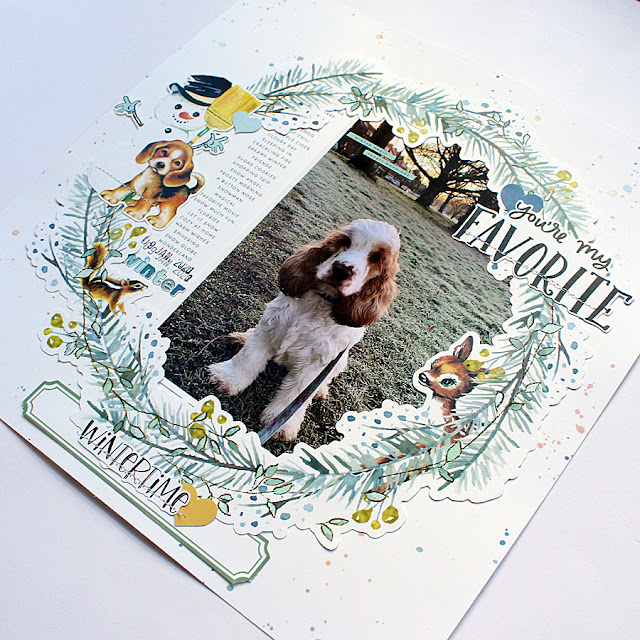
This is the layout I created:

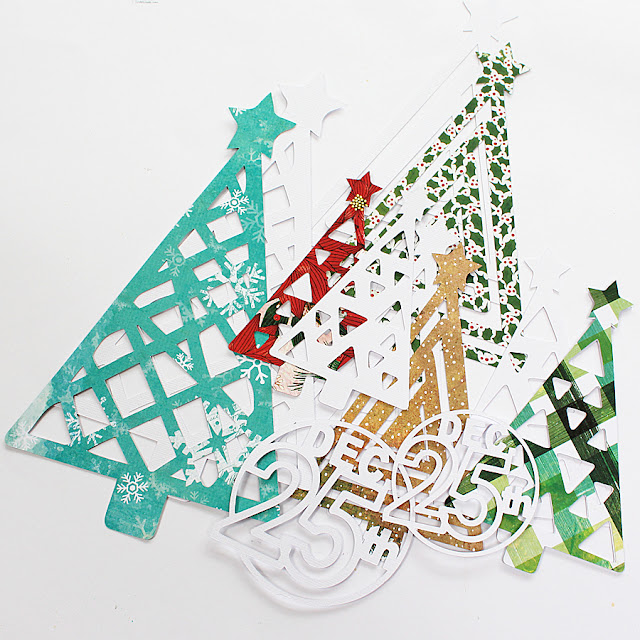
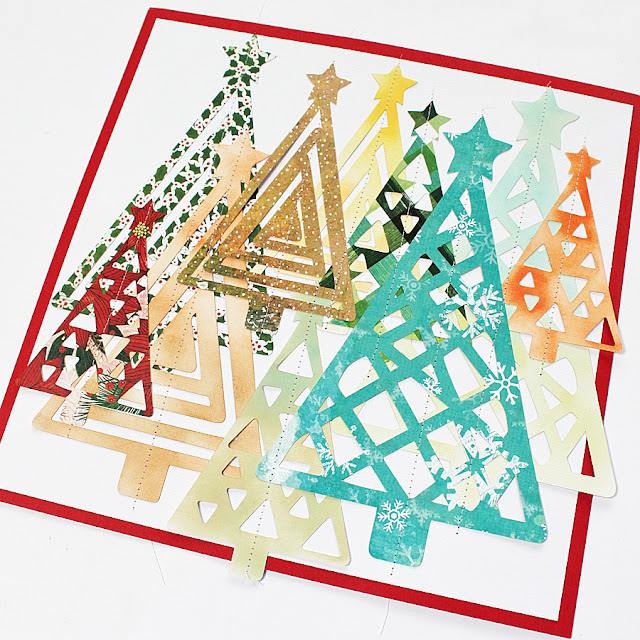
Next I installed my Silhouette Cameo and started cutting. I cut five trees in different sizes from various patterned papers and six trees also in different sizes from plain white cardstock. The "25" comes from the same cut file and I cut it in two different sizes from white cardstock as well:
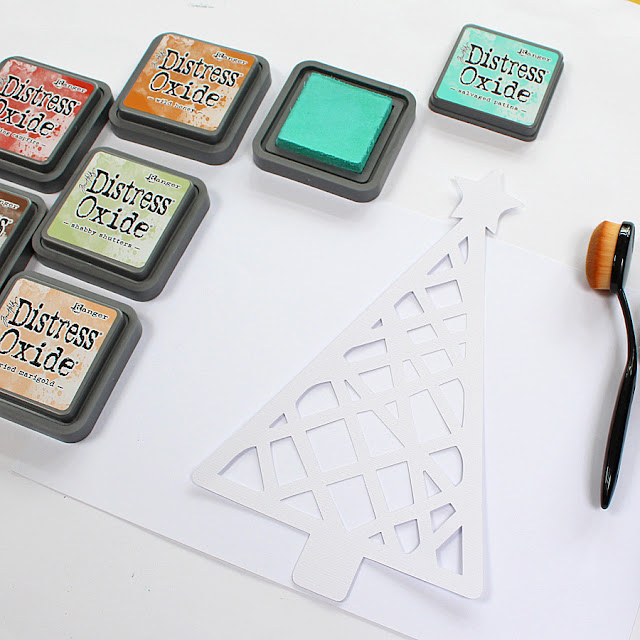
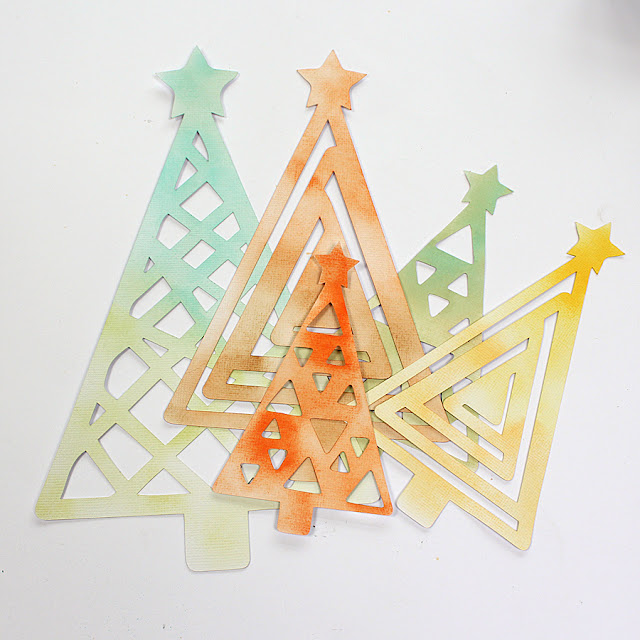
After coloring they looked pretty fun. I love the festive colors!
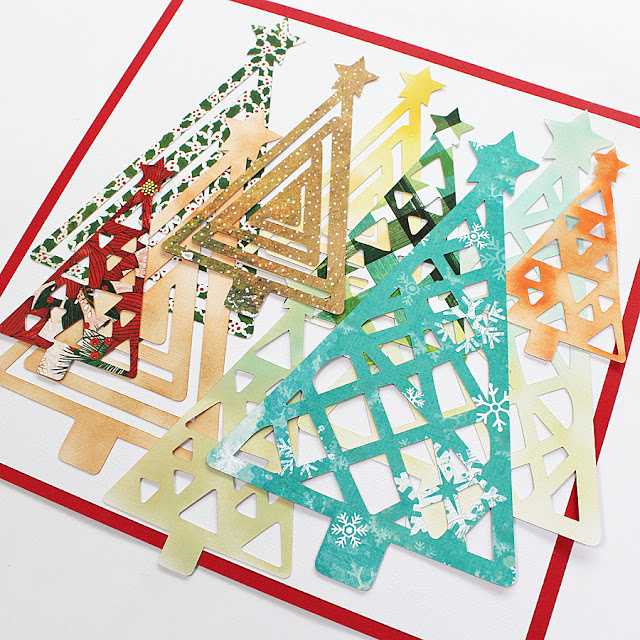
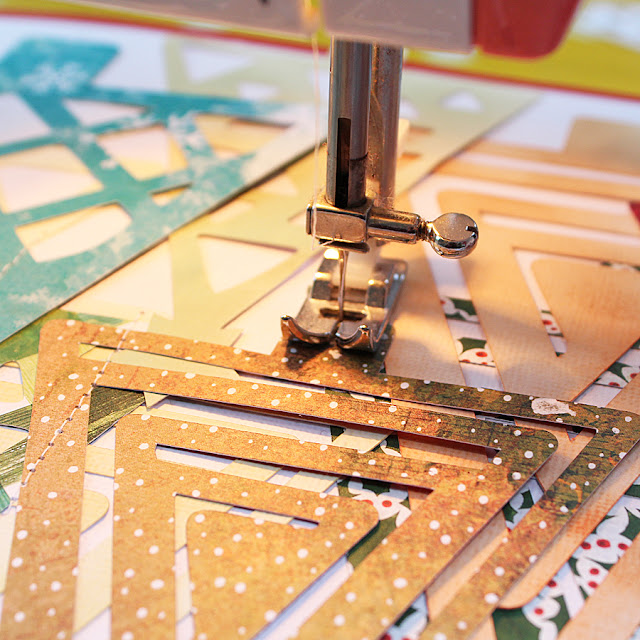
Next I cut 1.5 cm off two sides of my white background cardstock and adhered it on a sheet of red cardstock. On top I arranged all the cut trees covering almost the entire page. I didn't need to use any adhesive as the trees were still a bit sticky from the Silhouette sheet:
Using my sewing machine I stitched right through the middle of the trees:
The result looked like this:

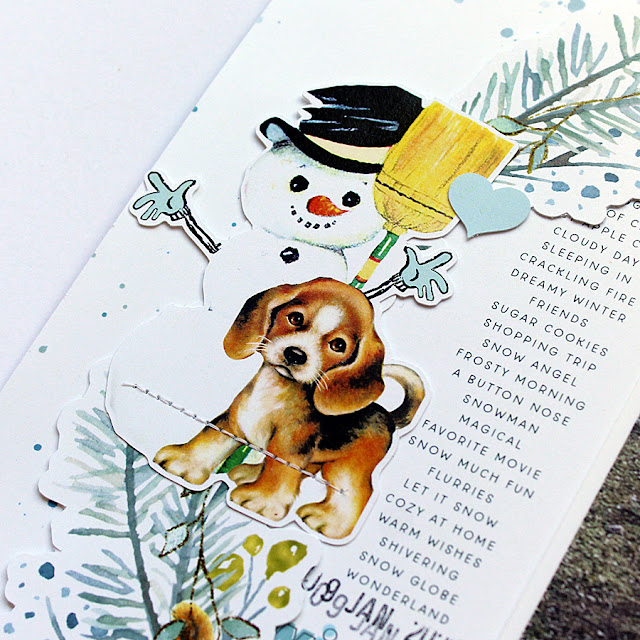
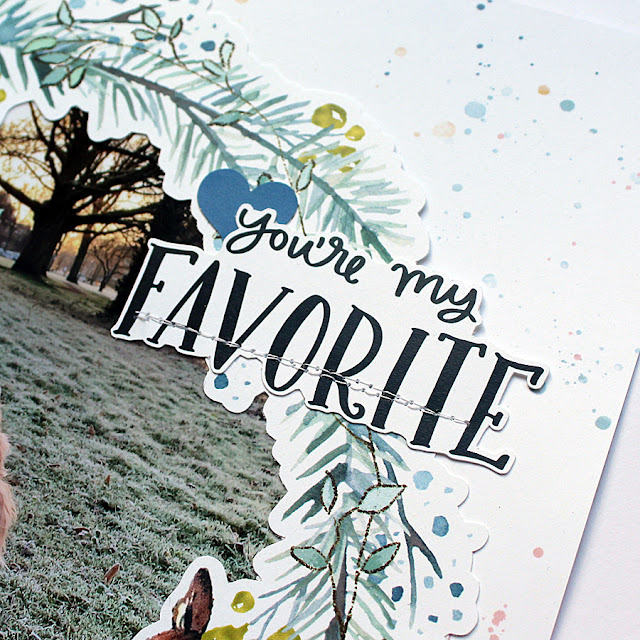
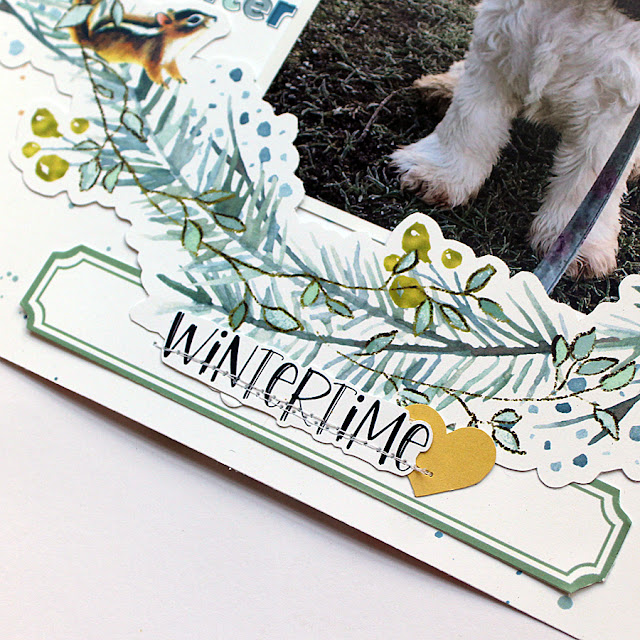
Now I had to find a place for my photo, which I decided should be in the bottom left corner of the page. I added a few die-cuts and chipboards on the right side of the photo and placed the "25" cut file on top:
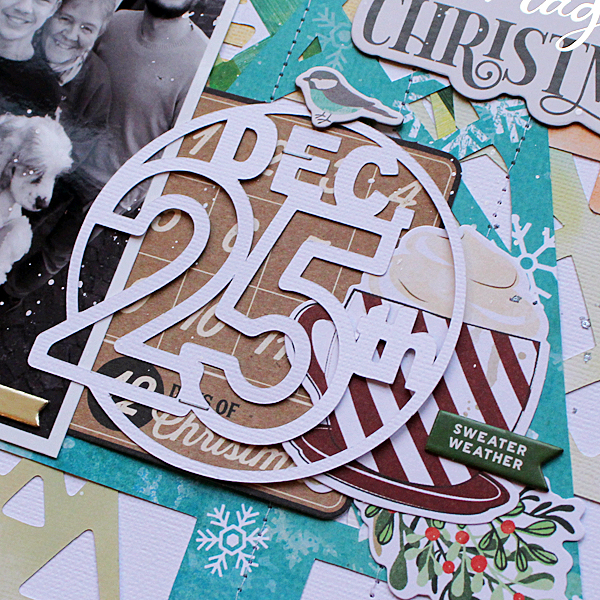

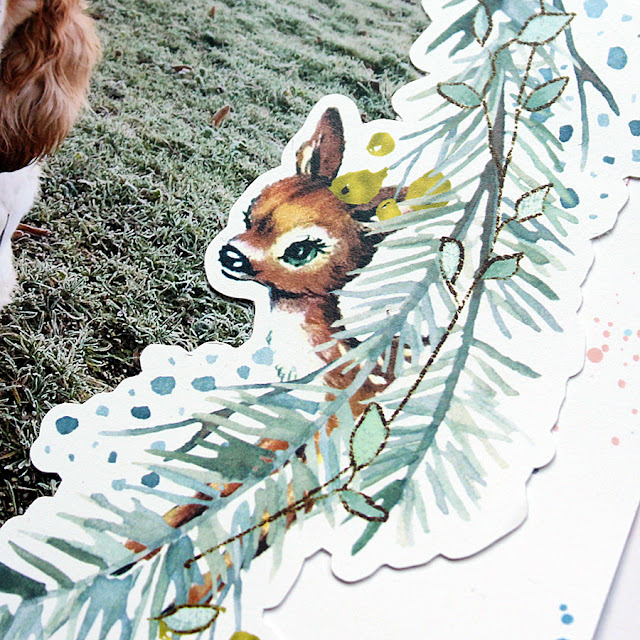
Above the photo I placed a few die-cuts and a bell chipboard in top of one of the trees:
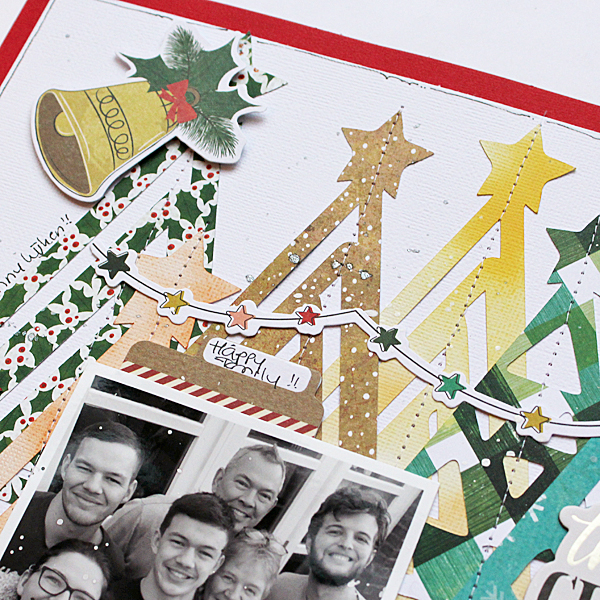
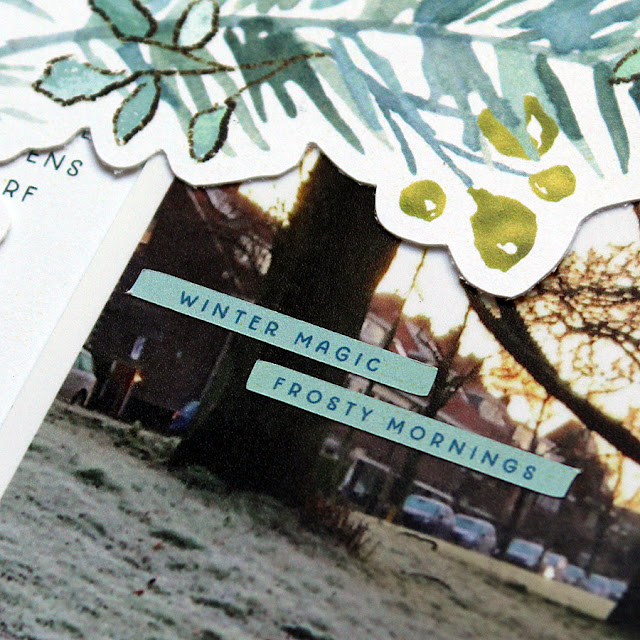
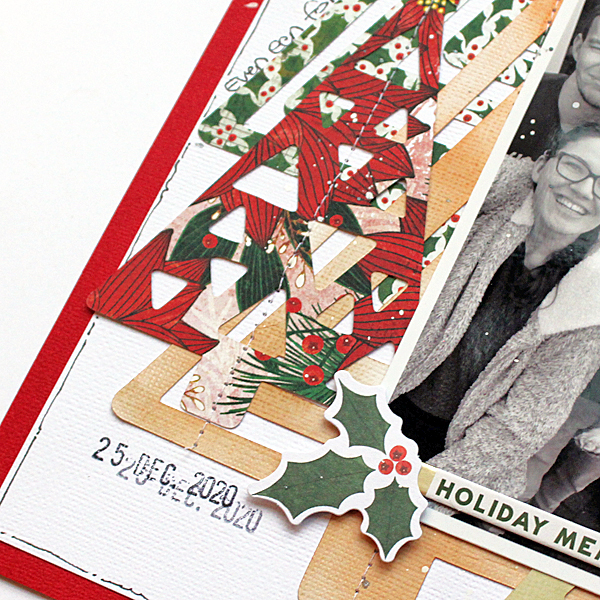
Last but not least I got out my white paint and added the white paint splatter to the etire page, even on top of my photo to give it the illusion that it snowed. I really love the result!
Thank you so much for stopping by the blog today! I hope I've been able to inspire you a little!
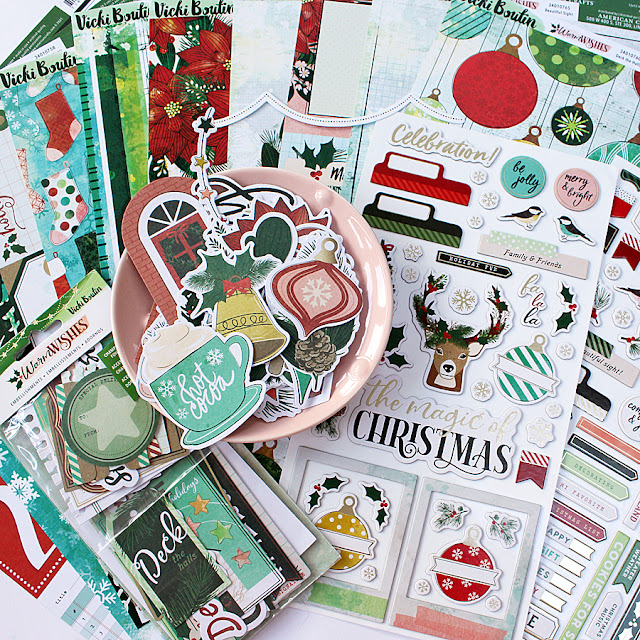
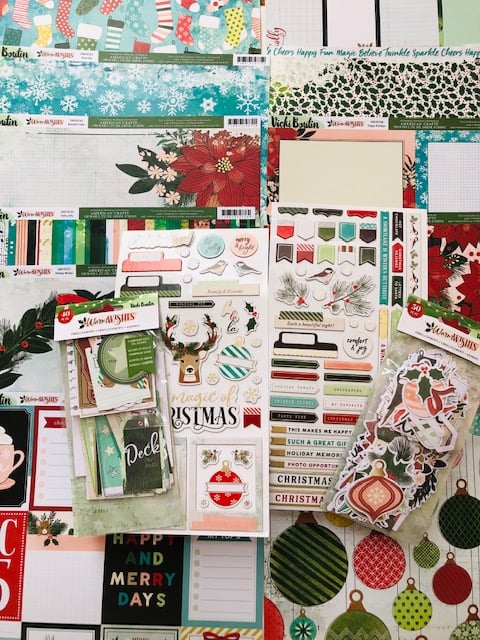
Here's a photo of the December Creative Kit I used:
For more information about this kit (and the other 3 kits of this month) please visit the My Creative Scrapbook website and if you want to see the photos of all projects created by the design team with the various kits, please visit the Design Team Gallery.
Wishing you a wonderful day!
xxx Monique