Showing posts with label My Creative Scrapbook. Show all posts

Monday, 26 December 2022

Jingle All The Way || Step-By-Step for My Creative Scrapbook || Simple Stories Mix and A-Mingle

Hello friends! Hope you all had a wonderful Christmas! Here is another Xmas layout, which I created using the awesome December Creative Kit from My Creative Scrapbook. This month the Creative Kit features the "Mix and A-Mingle" collection from Simple Stories.  

This is the layout I created the step-by-step for:


For this layout I started with the sheet with all the fantastic tags:


I cut all the tags apart and used all 15 of them to create a "Christmas Tree". To do this I placed 1 tag at the top, 3 tags in the second row, 5 tags in the third row and 6 tags in the fourth (bottom) row. 


Using my Crop-A-Dile a punched a hole in all of the tags and threaded bakers twine through all the holes: 


With a little bit of glue I glued them in place, but I used my sewing machine to really fix them in place.  I used different stitches for added interest: 


And this is how the layout in progress looked after stitching: 


Now, all I had to do was place my photo on top (in the bottom left corner) and add die-cuts and stickers on the right side and above the photo:


I also added small embellishments on some of the tags.: 
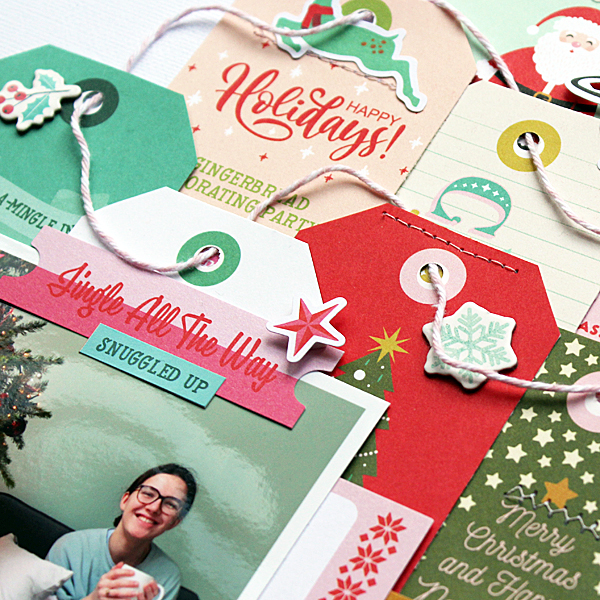

After stamping the date on one of the tags my layout was finished. Hope you like it! 

Here's a photo of the December Creative Kit I used: 


For more information about this kit (and the other 3 kits of this month) please visit the My Creative Scrapbook website and if you want to see the photos of all projects created by the design team with the various kits, please visit the Design Team Gallery.

Wishing you all a wonderful day! 

xxx Monique

Sunday, 23 October 2022

HOME is where your puppy is || step-by-step for My Creative Scrapbook

Hello friends! For My Creative Scrapbook I wrote this step-by-step tutorial using the colorful October Creative Kit. This month the Creative Kit features the "My Happy Place" collection from Doodlebug Design.  

This is the layout I created the step-by-step for:


For this layout I started with a strip of paper measuring 6.5" x 10" cut from the sheet called "Garden Girl". With a pair of fringe scissors I cut a fringe row at the bottom of the paper: 


Using a pencil I curled the fringe to add a little more interest: 


Next I cut a strip of paper measuring 2" x 11.5" from the sheet called "Mint To Be" and on both the left and right side I cut "fish tails". I placed this strip of paper on top of the colorful paper with the fringe:


I printed a large photo (5 3/4" x 7 3/4") of my sons with our our puppy, matted this and placed it on top: 


On the right side of the photo I created a little cluster. I definitely needed the journaling card "Home is where your puppy is"! 


At the top of the layout I added more word die-cuts:


On the left side of the photo I placed some die-cuts and at the top of the page I added more die-cuts as well:


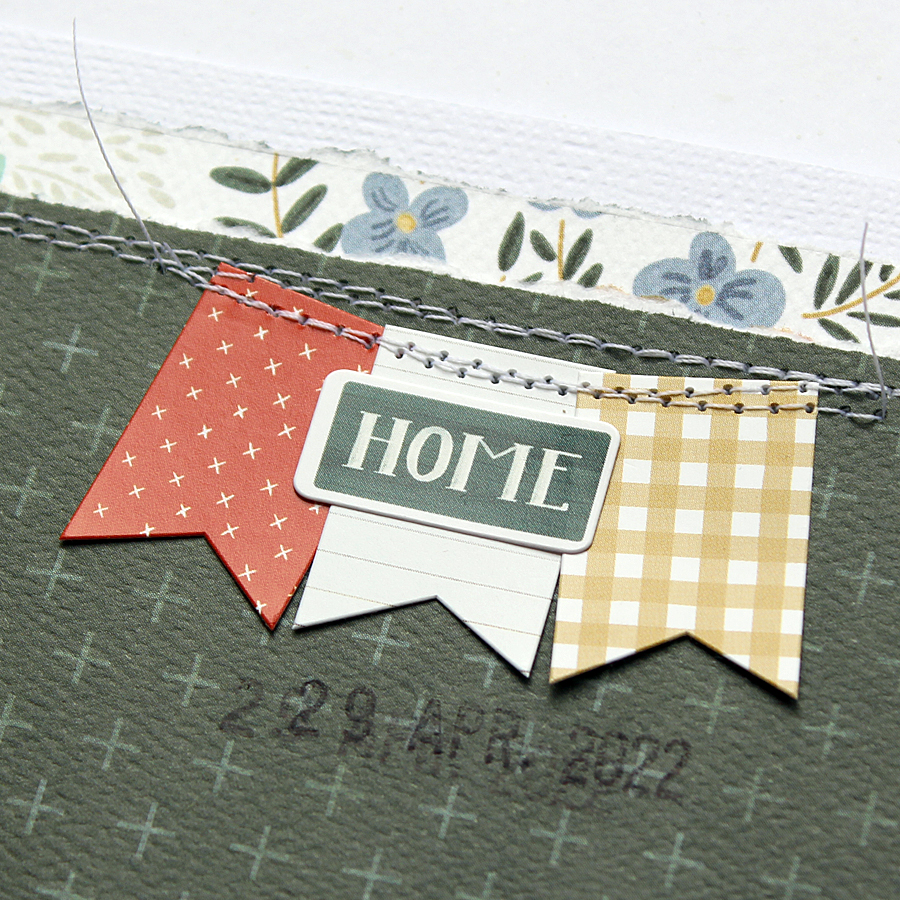
After adding two more word stickers and a die-cut, some machine stitching and a stamped date my layout was finished!  


Here are a few close-ups:


Hope you like it! 

Here's a photo of the October Creative Kit I used: 


For more information about this kit (and the other 3 kits of this month) please visit the My Creative Scrapbook website and if you want to see the photos of all projects created by the design team with the various kits, please visit the Design Team Gallery.

Wishing you all a wonderful day! 

xxx Monique


Sunday, 25 September 2022

Home is where the heart is || Step-by-step for My Creative Scrapbook

Hello friends! Today I've got a step-by-step tutorial which I made for one of the layouts I created using the beautiful September Creative Kit from My Creative Scrapbook and one of the free subscriber cut files. This month the Creative Kit features the "Farmhouse Summer" collection from Carta Bella Paper/Echo Park Paper.  

Here's the layout I created the step-by-step for:


I started with displaying the products I had left over from the kit after creating three layouts already:


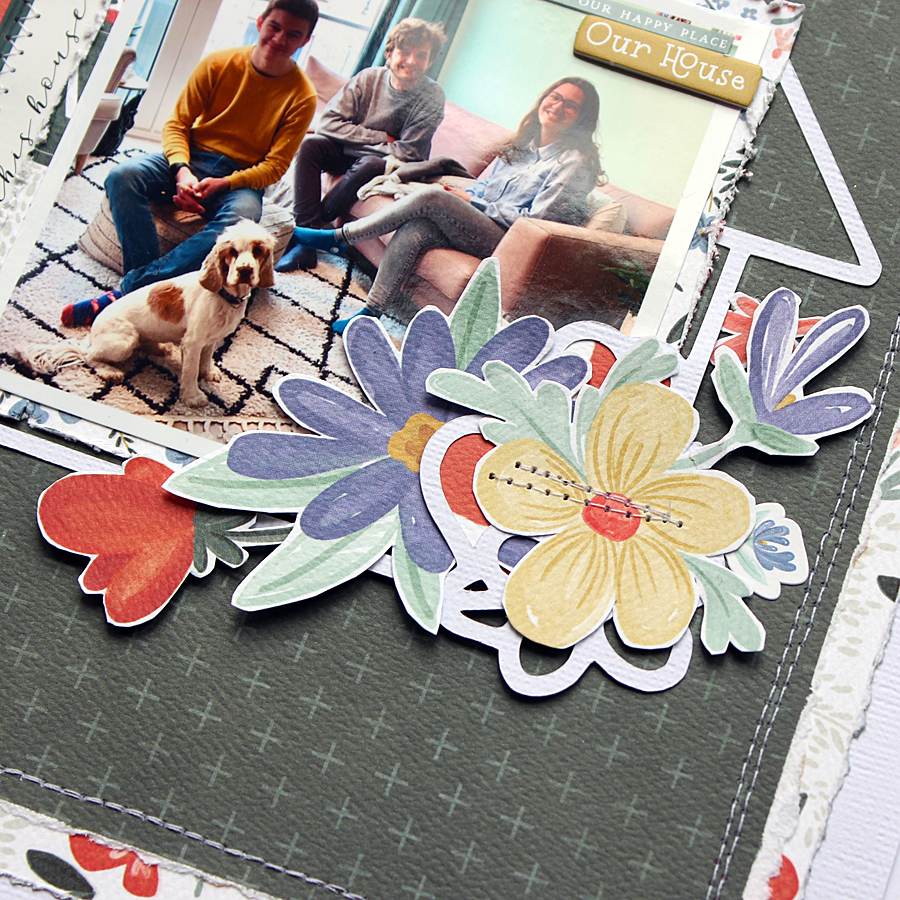
For this layout I cut out one of the free subscriber cutfiles from Pearttree Cutfiles called "Heart of the Home" (it's an old one from September last year) using my Silhouette and placed this on a sheet of dark green patterned paper called "Simple Summer Flower". I chose a photo of my daughter and her partner in their brand new home (and my youngest, as we were visiting):


From all four sides of the patterned paper I tore off thin strips of paper using a metal ruler to get distressed edges:


Next I matted the photo, but before adhering I distressed the edges of this paper as well:


I decided to hand cut some of the flowers from the "Blessed Blooms" paper:


Loving the soft colors of these flowers!


I filled the hearts of the cut file with the red chequered paper called "Fresh Picks" and already loved the result. The flowers and the house itself I left as is: 


After arranging and re-arranging my photo I came to the conclusion that I needed another small photo to place above my original photo. I printed one of our Cocker Spaniel, who was also visiting. 


I decided to place the green base of my layout on a sheet with small flowers, which is the B-side of the sheet called "Multi Journaling Cards". 

After adding lots of embellishments, my layout was more or less done. I just had to add some machine stitching and to write a few lines of journaling with a white pen. 


And that's it! 
Here are a few close-ups:


Hope you like it! 

Here's a photo of the June Creative Kit I used: 


For more information about this kit (and the other 3 kits of this month) please visit the My Creative Scrapbook website and if you want to see the photos of all projects created by the design team with the various kits, please visit the Design Team Gallery.

Wishing you all a wonderful day! 

xxx Monique

Monday, 22 August 2022

Destination || Step-by-step My Creative Scrapbook

Hello friendss! This month I received the My Creative Scrapbook August Creative Kit featuring the Let's Go collection from Simple Stories, which I totally adore! I just love all travel collections and this one is definitely this year's favorite! As I just got back from a vacation to the south of France I had photos a plenty! 

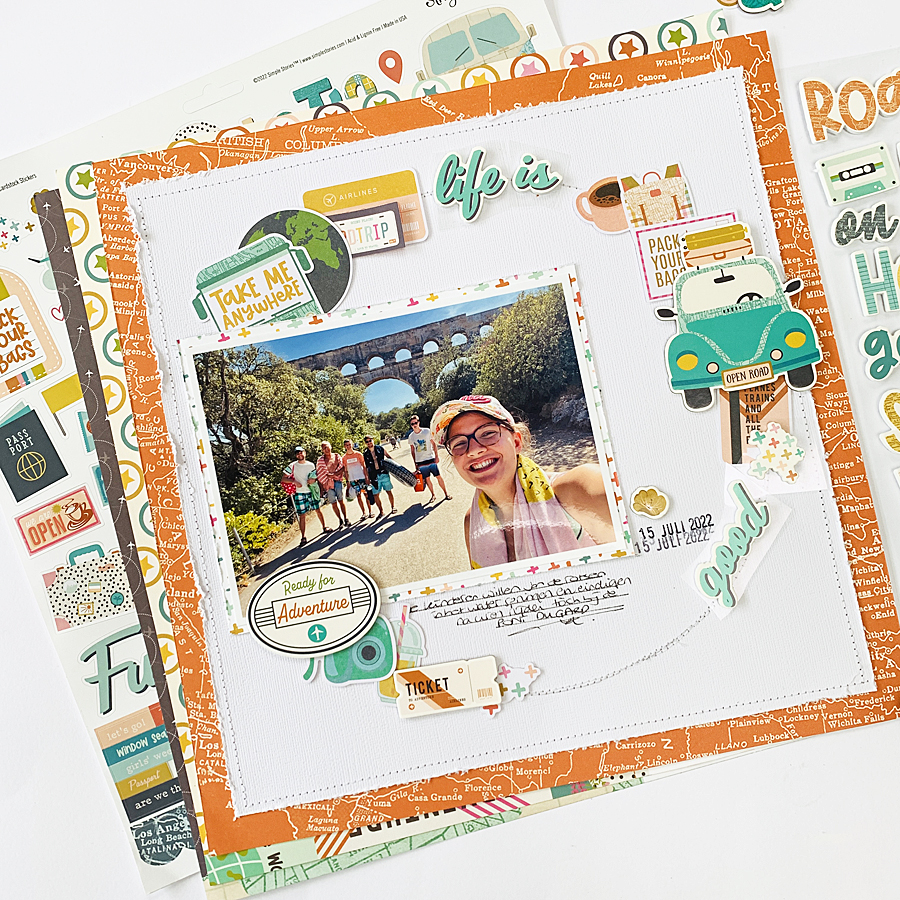
Here's one of the layouts I created with this wonderful kit:


And here are a few photos of how this layout came together. Using a plate I drew a circle on a sheet of white cardstock.


I chose the tangerine colored map paper (called "Pack Your Bags") to mat the white cardstock with. From all 4 sides of the cardstock I tore off a small strip of paper. Using my sewing machine I stitched the cardstock on top of the patterned paper. Except for the sides I also stitched the circle, twice. Next I distressed the sides of the cardstock. 


I printed & matted a large photo of my kids just returning from an afternoon filled with swimming and jumping in the river. I decided I wanted the photo on the left side of my layout. 


Now all I had to do was to fill the circle with numerous stickers, die-cuts and chipboards.


This month's Creative kit is filled to the brim with embellishments; I had a hard time choosing and not just including everything! Below the photo I wrote a few lines of journaling and stamped the date. 


Last but not least I added a few drops of yellow ink.


And now I thought I was done, but when I put the layout out of sight for a while and looked at it a day later I decided it wasn't quite right. So I pulled some of the embellishments off and rearranged them, just a little. For example, the car wasn't right where it was, it was just too high and then there were too many die-cuts above the word "destination". So after a bit of pulling and tearing my layout now looks like this: 


What do you think? Do you like the first version better? of the second? Would love to know! 

Here's a photo of the August Creative Kit I used: 


For more information about this kit (and the other 3 kits of this month) please visit the My Creative Scrapbook website and if you want to see the photos of all projects created by the design team with the various kits, please visit the Design Team Gallery.

Wishing you all a wonderful day! 

xxx Monique

Saturday, 30 July 2022

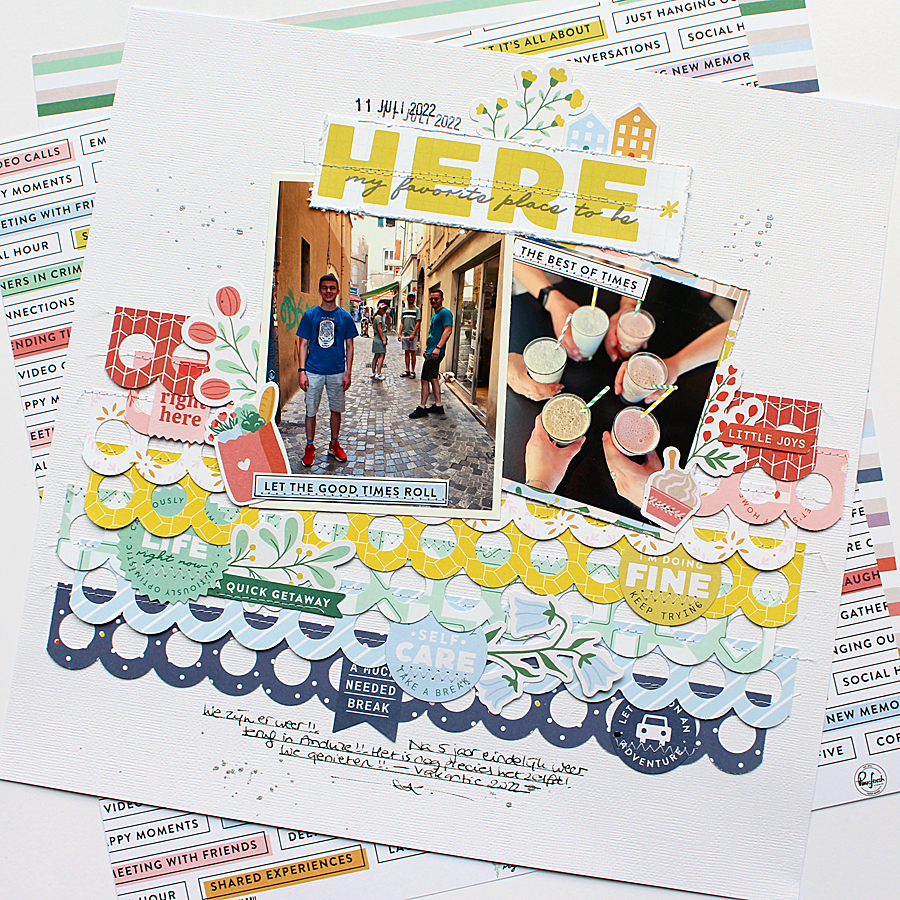
HERE, My Favorite Place To Be || My Creative Scrapbook Step-by-Step

Hello friends! I wanted to share another step-by-step tutorial which I made for the kit club My Creative Scrapbook for one of my July layouts. I used the truly awesome July Creative Kit, featuring the Life Right Now collection from Pinkfresh Studio. I love that this kit can be used for both photos taken at home as well as on vacation, like the photos I used in today's layout.

Here's the layout I created the step-by-step for:


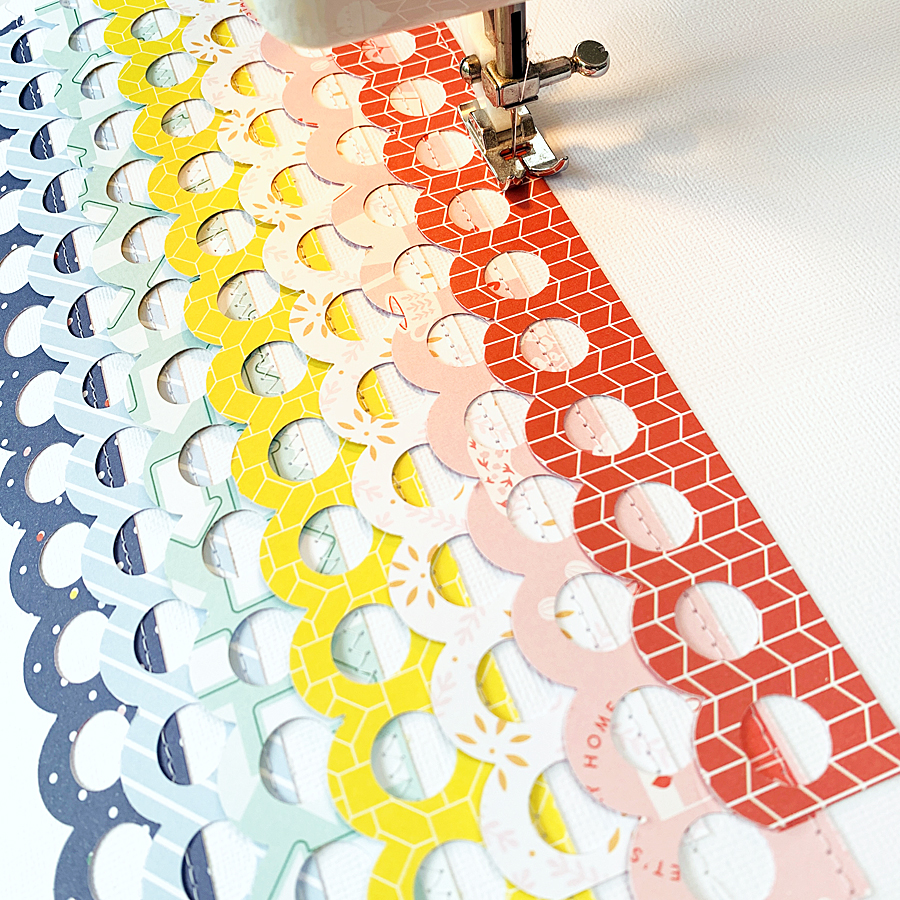
For this layout I selected a few patterned papers and got out one of my favorite punches and punched seven borders in the colors of the rainbow. 


The punched borders measure 1.25" x 11". 


I placed these borders (in rainbow order) on a white sheet of cardstock and machine stitched them all:


Next I added several embellishments in similar colors: 


I placed the photos on top, with die-cuts on both sides and a title above. I also hand cut a few of the expressions from the sheet called "Social Hour" and adhered these on the photos:


I wrote the journaling beneath the borders, stamped the date above the title and added a few silver paint drops and I was done! 


Here are a few close-ups:


Here's a photo of the July Creative Kit I used: 


For more information about this kit (and the other 3 kits of this month) please visit the My Creative Scrapbook website and if you want to see the photos of all projects created by the design team with the various kits, please visit the Design Team Gallery.

Wishing you all a wonderful day! 

xxx Monique