Showing posts with label The Cut Shoppe. Show all posts

Thursday, 23 December 2021

The Magic of Christmas || Step-By-Step || My Creative Scrapbook December Creative Kit

Hello friends! I've got a step-by-step tutorial I created for My Creative Scrapbook I thought I would share it here as well. The Christmas trees are part of the free subscriber December cut file created by Ashley Horton from The Cut Shoppe.

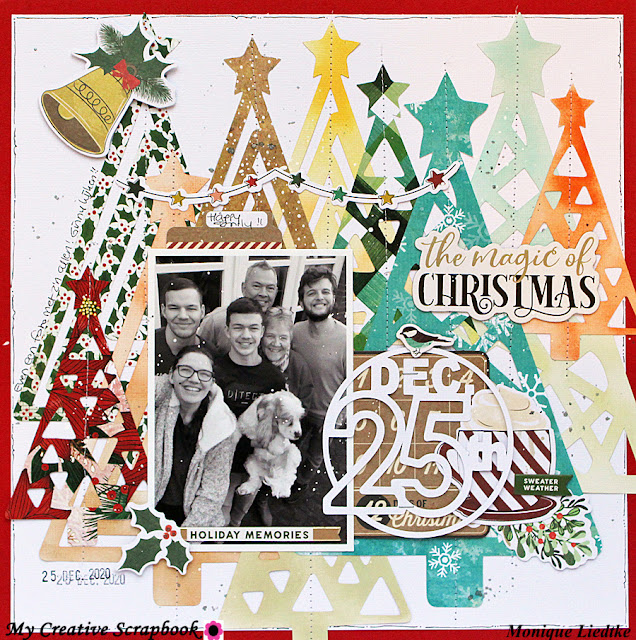
This is the layout I created:

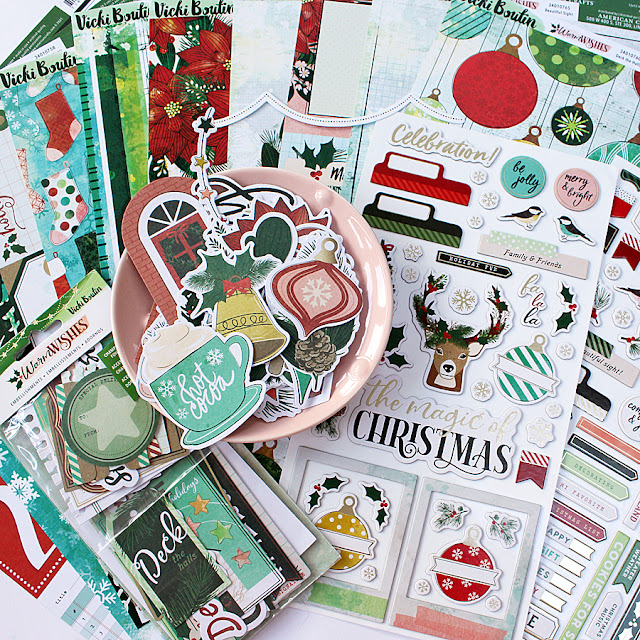
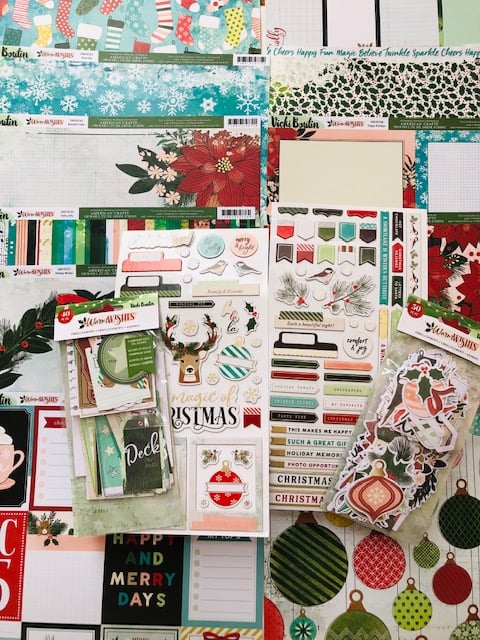
First I unpacked this month's kit, the December Creative Kit. Look how awesome it looks. Don't you jus love those designs, the colors, the die-cuts and those chipboards?! I just love it all!!


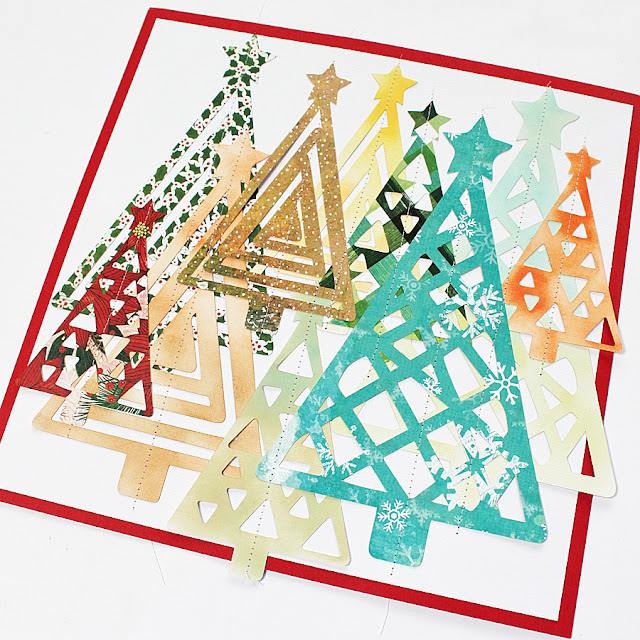
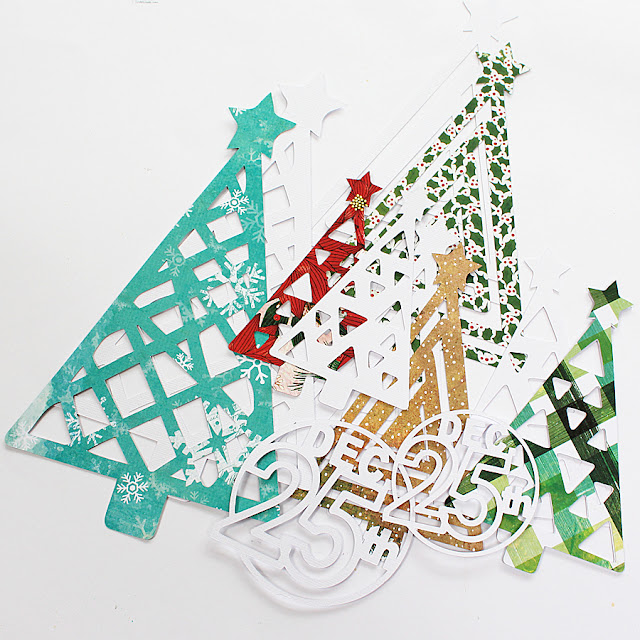
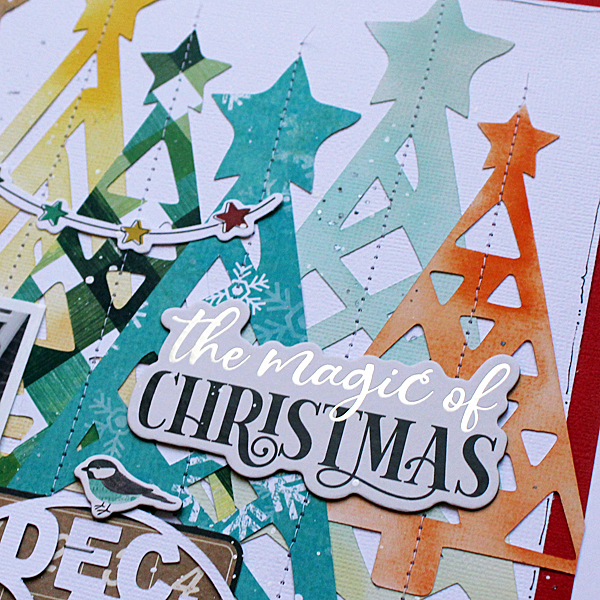
Next I installed my Silhouette Cameo and started cutting. I cut five trees in different sizes from various patterned papers and six trees also in different sizes from plain white cardstock. The "25" comes from the same cut file and I cut it in two different sizes from white cardstock as well:
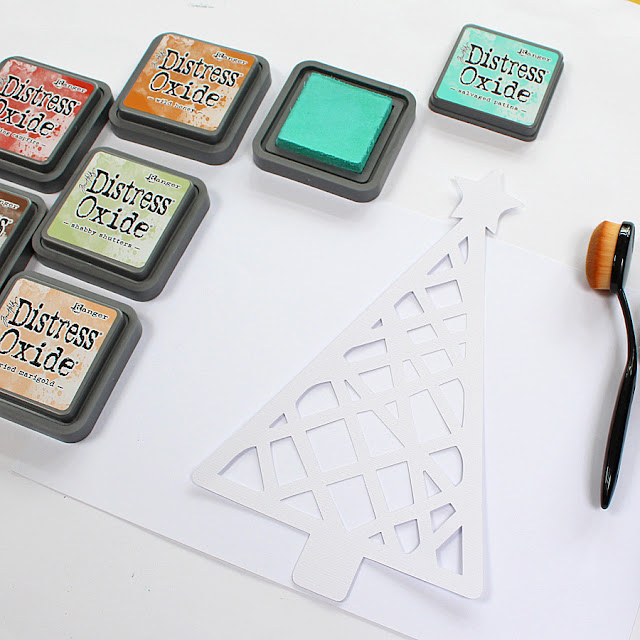
With Distress Oxide stamping ink and a soft brush I colored the trees I cut from the white cardstock:


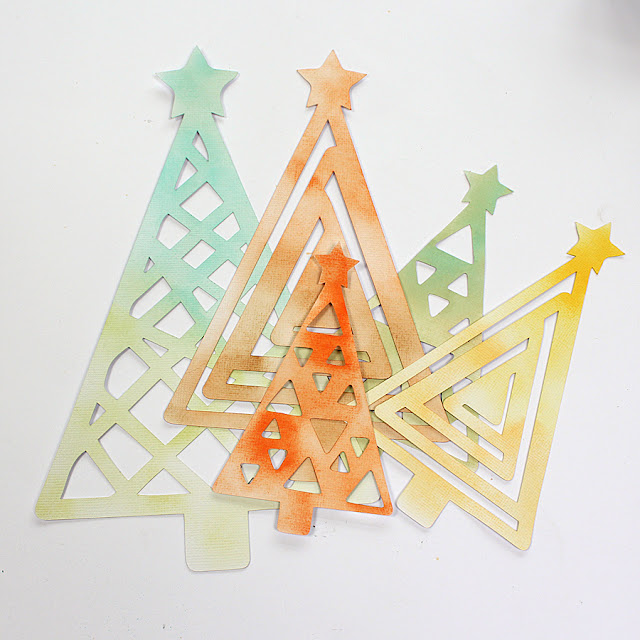
After coloring they looked pretty fun. I love the festive colors! 

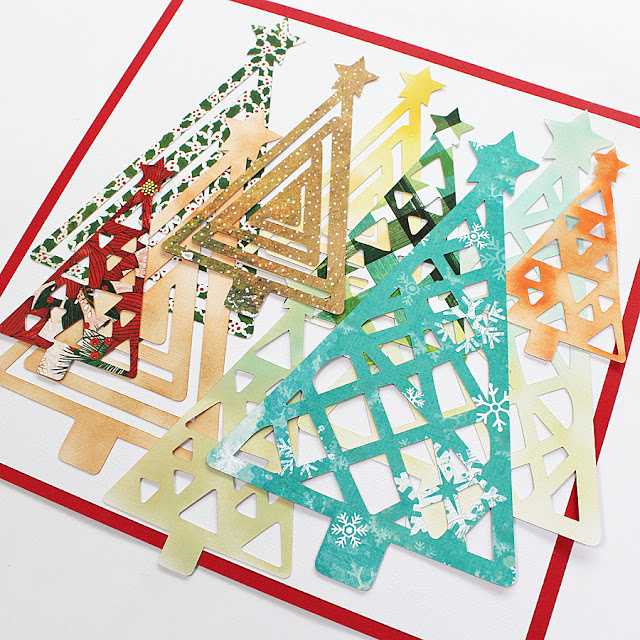
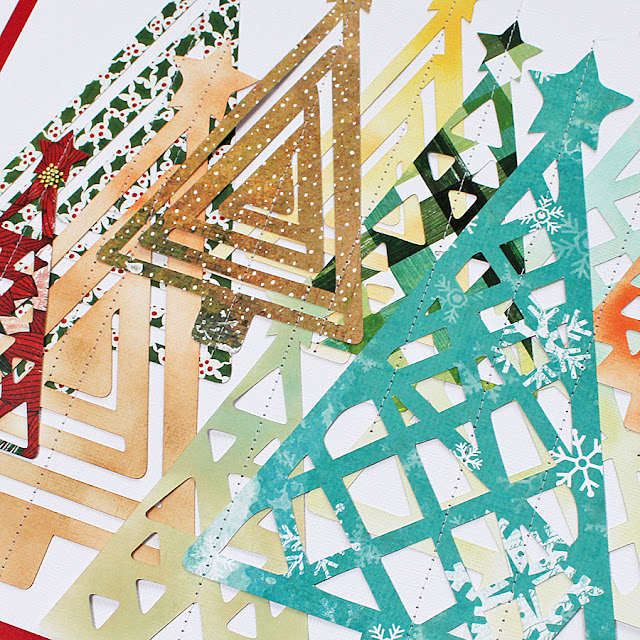
Next I cut 1.5 cm off two sides of my white background cardstock and adhered it on a sheet of red cardstock. On top I arranged all the cut trees covering almost the entire page. I didn't need to use any adhesive as the trees were still a bit sticky from the Silhouette sheet:

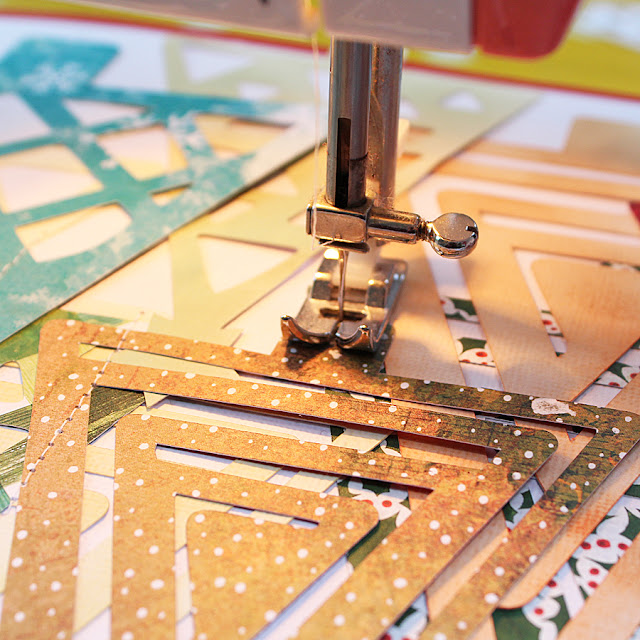
Using my sewing machine I stitched right through the middle of the trees:

The result looked like this:


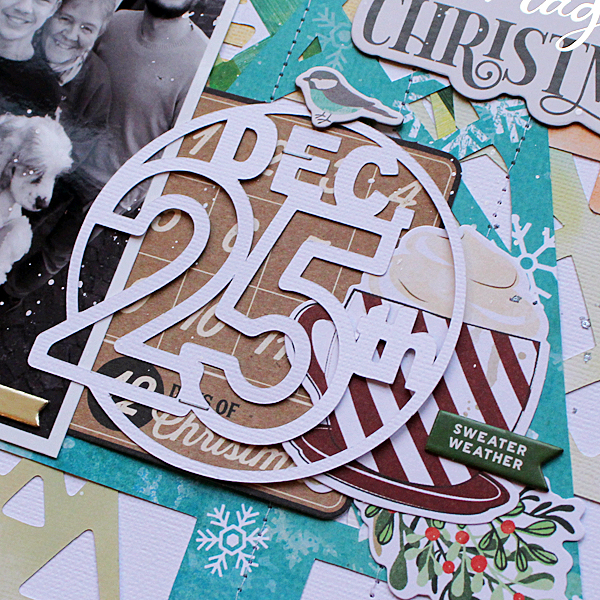
Now I had to find a place for my photo, which I decided should be in the bottom left corner of the page. I added a few die-cuts and chipboards on the right side of the photo and placed the "25" cut file on top:
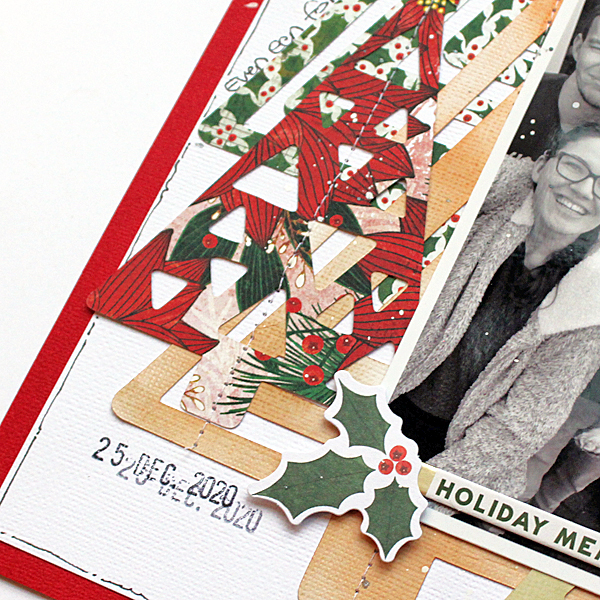
On the left side of the photo I added a really small chipboard and stamped the date (twice):


Above the photo I placed a few die-cuts and a bell chipboard in top of one of the trees:
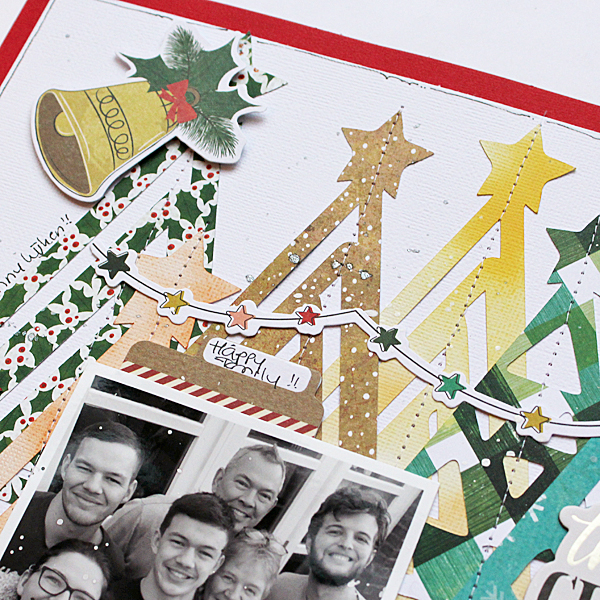

Last but not least I got out my white paint and added the white paint splatter to the etire page, even on top of my photo to give it the illusion that it snowed. I really love the result! 
Thank you so much for stopping by the blog today! I hope I've been able to inspire you a little! 

Here's a photo of the December Creative Kit I used: 

For more information about this kit (and the other 3 kits of this month) please visit the My Creative Scrapbook website and if you want to see the photos of all projects created by the design team with the various kits, please visit the Design Team Gallery.

Wishing you a wonderful day! 

xxx Monique

Sunday, 12 September 2021

GINNY | PRETTY LITTLE STUDIO

Hi everyone! Today I want to share a layout featuring my furry baby using the "Grateful Heart" collection from Pretty Little Studio. Here's the layout I made:


For the background I used a cut file from The Cut Shoppe and cut the hearts background from the sheet called "Afternoon". I then machine stitched through every row of hearts. Next I placed the photo on top with the 3" x 4" journaling card with the camera on the right. 

I added lots of flower die-cuts in the bottom right corner of the photo and the top left corner of the photo. 


Next I added a few word stickers on the journaling card and also spelled my dog's name and adhered these alpha stickers on the left side of the photo. 


The die-cut word "love" is from an older collection, but as I thought the color fitted the Grateful Heart collection I decided to use it. Next I stamped the date and was done! Hope you like it!


Thank you so much for stopping by! Don't forget to visit the Pretty Little Studio shop for this collection or one of the many other collections. 

Here's a list of the PLS products I used:


Journaling | Grateful 3 x 4

You can find more of my work here: Instagram / Blog / Pinterest


Monday, 18 November 2019

My Creative Scrapbook | November tutorial

Hi friends! For My Creative Scrapbook I created these two Fall layouts using the November Main Kit featuring the "Simple Vintage Autumn Splendor" collection from Simple Stories and one of the "free for members" November cut files, called "Autumn Days", designed by Ashley Horton (warning: photo overload!)

Here are the two layouts I created:


And here's how I created them. I started by gathering my supplies, both the kit and the wreath cut file:


I also got out a pot of gold Nuvo Embellishment Mousse. For almost a year now I have these Nuvo pots sitting in a drawer in my desk and today I decided to use the one with gold mousse.

Next I placed the wreath cut file on sheet of white cardstock and simply placed the cut file on top of it. Using a spatula I started applying the mousse over the cut file. I didn't adhere the cut file beforehand, because as soon as the first bit of mousse is applied the cut file is stuck to the page and won't move any more.


I started at the top of the cut file and worked my way down. The more mousse you apply the more depth you'll get. What I like about it is that it stays in the shape it has been applied.


As soon as the cut file was completely covered in mousse I removed it from my cardstock background (before the mousse had dried). This is how it looked:


 And this is how the negative looked:


A close-up of the cut file:


And a close-up of the negative:


 Don't they both look awesome?!


Now I started to build the rest of my page. I chose a dark background cardstock for the gold wreath cut file and used just a little bit of adhesive to glue it to the cardstock as I didn't want to flatten the wreath:


Next came the photo of my English Cocker Spaniel pup and lots of embellishments (cardstock die-cuts and chipboards). I placed those on four points of my wreath: the photo on the right side and the embellishments at the top, bottom and left side:


After adding a bit of machine stitching I wrote a little bit of text with a white marker and also used the white marker to draw a line along the edges of the journaling card and my layout. Last but not least I added a few drops of white paint:


 Here are a few more close-ups:


I also used the negative of the wreath cut file to create a layout. I'll quickly show you the layout and a few close-ups of this page as well. The photos are of my daughter who went to Iceland with her friends last year:


And the close-ups:


This is it! I hope you like them!

For more information about this kit (and the other 3 kits of this month) please visit the My Creative Scrapbook website and if you want to see the photos of all projects created by the design team with the various kits, please visit the Design Team Gallery.

Thanks again for stopping by! Wishing you happy crafting!
xxx

Wednesday, 25 October 2017

Bella Blvd and Pandas ... a perfect combination!!

Today I thought I'd share this layout Bella Blvd layout I created a little while ago. I wanted to scrap the photo of my youngest and my daughter and still had the  "Popsicles & Pandas" collection lying on my desk so the choice was easy: 


And a few close-ups: I just love all the stickers in this collection and used quite a lot!


And just look at that cute little ladybug!!


I think that the paper clips in this collection are my favorite!


The "Get Around" cut file I used is from The Cut Shoppe. 

Thank you so much for stopping by!! Have a wonderful evening and hope to see you back soon!

xxx
Monique

Friday, 23 June 2017

Last layout for The Cut Shoppe - Away We Go!

Today I'm sharing the last layout I created as a member of The Cut Shoppe Design Team. Sadly the design team will be finishing at the end of this month. I can't believe how fast this year went! I've had the time of my life and am so grateful to Ashley for having me on her team and letting me play with all of her fun cut files!

For today's layout I thought it would be a good idea to use my favorite cut file once more: the "All Heart" cut file! 

Here's what I created with it, also using Crate Paper's Oasis collection: 
  

and here's the "All Heart" cut file I used:


I so love this cut file! and although I've used the cut file a few times before the layouts always turn out totally different! Here are a couple of close-ups ... as you can see I've adhered the title in the large hearts and filled all the empty hearts (large and small) with enamel hearts. 


Isn't the puffy flamingo the best?!! 


And if you're curious about the other layouts I created with this cut file, here are two of them: one I created for Doodlebug:


and one I created for Pretty Little Studio:


It's only now that I notice all the pinks in my pages! Must be because of all the hearts, lol. 

Now, if you're looking for this cut file or any other cut file with hearts just check The Cut Shoppe Etsy Store! There are so many fun designs and products available at the store.

Thank you so much for stopping by my blog today!

Hugs,
Monique