Showing posts with label Simple Stories. Show all posts

Monday, 26 December 2022

Jingle All The Way || Step-By-Step for My Creative Scrapbook || Simple Stories Mix and A-Mingle

Hello friends! Hope you all had a wonderful Christmas! Here is another Xmas layout, which I created using the awesome December Creative Kit from My Creative Scrapbook. This month the Creative Kit features the "Mix and A-Mingle" collection from Simple Stories.  

This is the layout I created the step-by-step for:


For this layout I started with the sheet with all the fantastic tags:


I cut all the tags apart and used all 15 of them to create a "Christmas Tree". To do this I placed 1 tag at the top, 3 tags in the second row, 5 tags in the third row and 6 tags in the fourth (bottom) row. 


Using my Crop-A-Dile a punched a hole in all of the tags and threaded bakers twine through all the holes: 


With a little bit of glue I glued them in place, but I used my sewing machine to really fix them in place.  I used different stitches for added interest: 


And this is how the layout in progress looked after stitching: 


Now, all I had to do was place my photo on top (in the bottom left corner) and add die-cuts and stickers on the right side and above the photo:


I also added small embellishments on some of the tags.: 
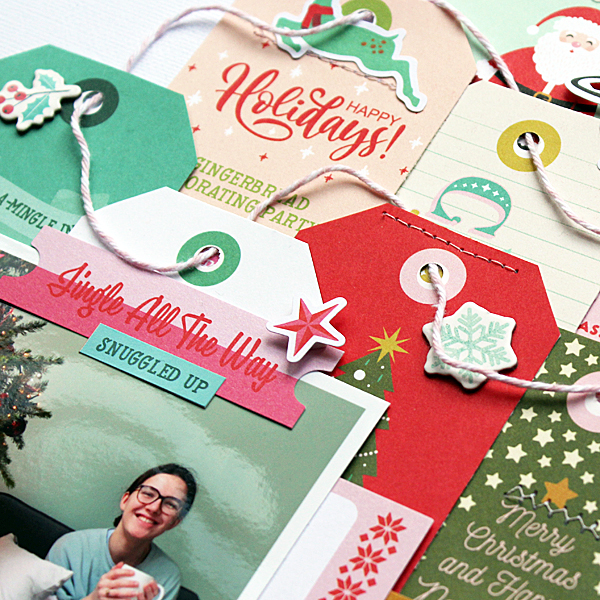

After stamping the date on one of the tags my layout was finished. Hope you like it! 

Here's a photo of the December Creative Kit I used: 


For more information about this kit (and the other 3 kits of this month) please visit the My Creative Scrapbook website and if you want to see the photos of all projects created by the design team with the various kits, please visit the Design Team Gallery.

Wishing you all a wonderful day! 

xxx Monique

Monday, 22 August 2022

Destination || Step-by-step My Creative Scrapbook

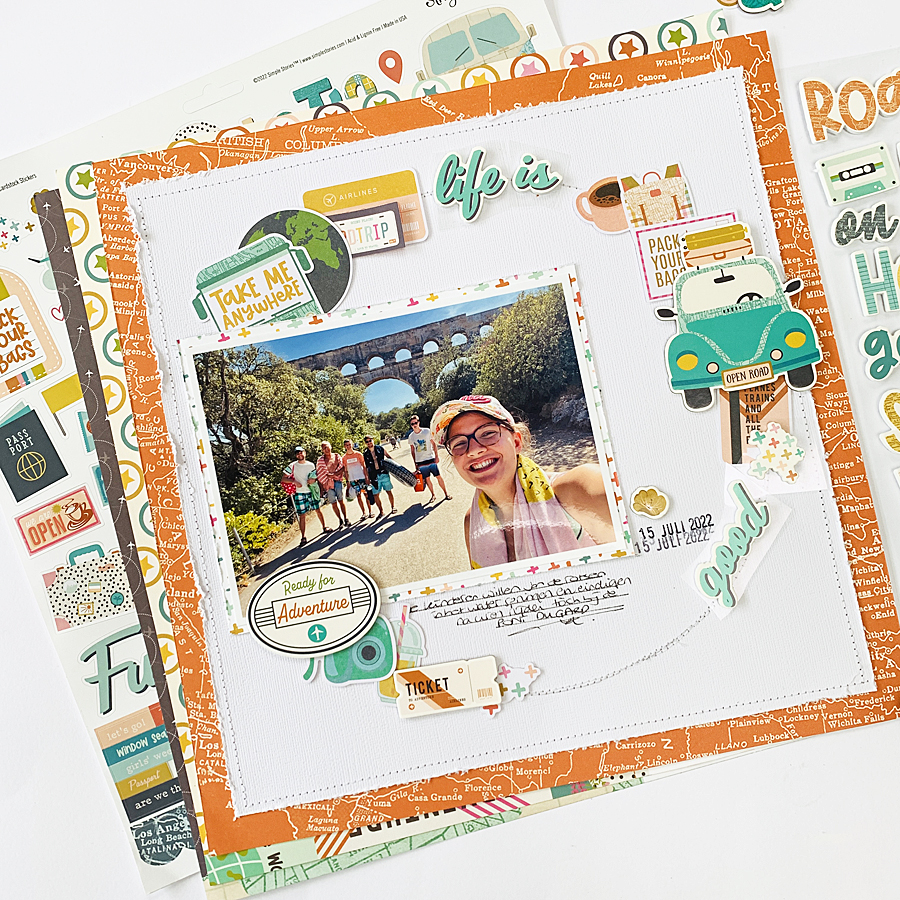
Hello friendss! This month I received the My Creative Scrapbook August Creative Kit featuring the Let's Go collection from Simple Stories, which I totally adore! I just love all travel collections and this one is definitely this year's favorite! As I just got back from a vacation to the south of France I had photos a plenty! 

Here's one of the layouts I created with this wonderful kit:


And here are a few photos of how this layout came together. Using a plate I drew a circle on a sheet of white cardstock.


I chose the tangerine colored map paper (called "Pack Your Bags") to mat the white cardstock with. From all 4 sides of the cardstock I tore off a small strip of paper. Using my sewing machine I stitched the cardstock on top of the patterned paper. Except for the sides I also stitched the circle, twice. Next I distressed the sides of the cardstock. 


I printed & matted a large photo of my kids just returning from an afternoon filled with swimming and jumping in the river. I decided I wanted the photo on the left side of my layout. 


Now all I had to do was to fill the circle with numerous stickers, die-cuts and chipboards.


This month's Creative kit is filled to the brim with embellishments; I had a hard time choosing and not just including everything! Below the photo I wrote a few lines of journaling and stamped the date. 


Last but not least I added a few drops of yellow ink.


And now I thought I was done, but when I put the layout out of sight for a while and looked at it a day later I decided it wasn't quite right. So I pulled some of the embellishments off and rearranged them, just a little. For example, the car wasn't right where it was, it was just too high and then there were too many die-cuts above the word "destination". So after a bit of pulling and tearing my layout now looks like this: 


What do you think? Do you like the first version better? of the second? Would love to know! 

Here's a photo of the August Creative Kit I used: 


For more information about this kit (and the other 3 kits of this month) please visit the My Creative Scrapbook website and if you want to see the photos of all projects created by the design team with the various kits, please visit the Design Team Gallery.

Wishing you all a wonderful day! 

xxx Monique

Friday, 27 May 2022

Woohoo! You did it! || Tutorial for My Creative Scrapbook

Hello friends! Today I've got a step-by-step tutorial which I made for one the May layouts I created with the awesome May Creative Kit from My Creative Scrapbook. This kit is so fun and happy! It features the "Celebrate" collection from Simple Stories and is just perfect for every photo you took when celebrating! Not just birthdays! I created three graduation layouts and one birthday layout with this kit. 

Here's the layout I created the step-by-step for. My son's graduation last year: 


This kit came with a star stencil which I used to create a festive background:


I used a soft brush and the blue (tumbled glass) Distress Oxide and yellow (scattered straw) Distress Oxide to color the stars. To begin I colored the stars entirely yellow and then I went in a second time and gave all the yellow stars on one side a bit of a blue touch:


Next I punched a load of flags:


And using my sewing machine I sewed them all together:


Next I decided where I wanted my photo and one of the journaling cards I loved. I also wanted to use one of the large foam stickers that were included in the kit: 


With my tiny attacher I stapled the garland in place. First the left and right corners and next in the middle: 


I really love that because I stapled it in place it's still loose enough to move left/right/forward/backward. 

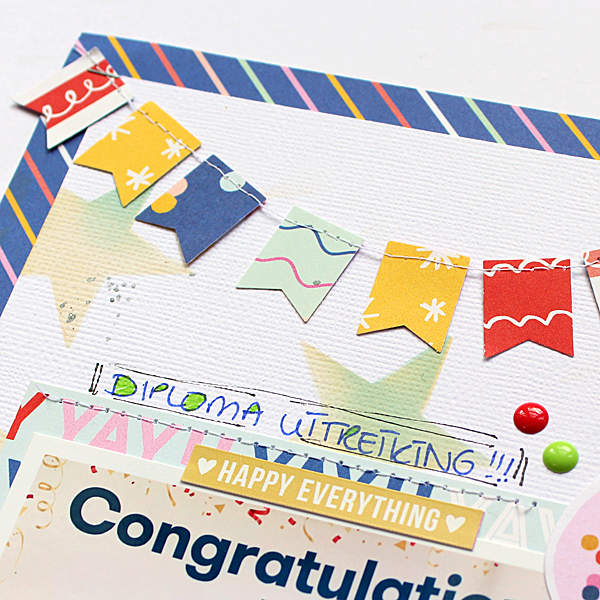
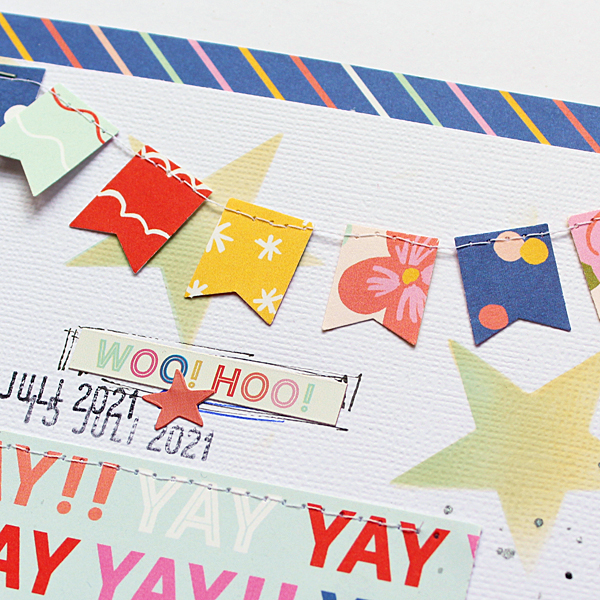
When I had added a few more embellishments and machine stitched around the page and on top of some of the cards, die-cuts and stickers and I was done! Here are a few detail photos of the finished page (the enamel dots are from my own stash):


This is it. Hope you like it! 

Here's a photo of the May Creative Kit I used: 


For more information about this kit (and the other 3 kits of this month) please visit the My Creative Scrapbook website and if you want to see the photos of all projects created by the design team with the various kits, please visit the Design Team Gallery.

Wishing you all a wonderful day! 

xxx Monique


Tuesday, 22 February 2022

One Of A Kind || Step-by-step My Creative Scrapbook Layout

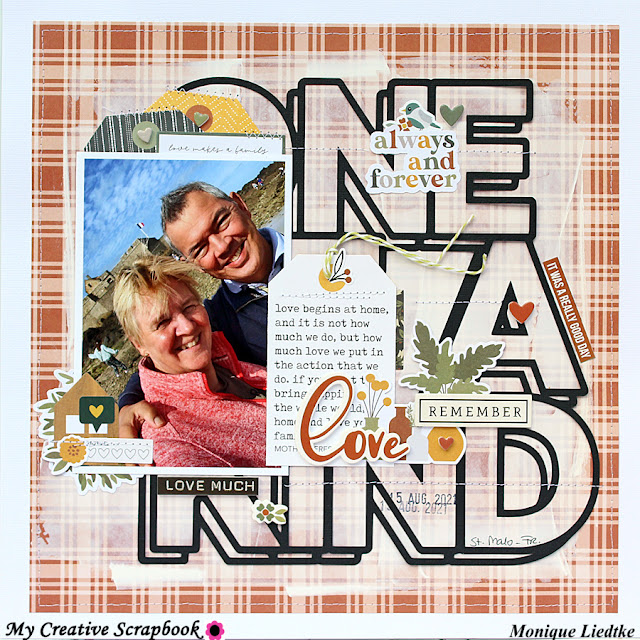
Hello friends! Thank you so much for stopping by my blog today. For My Creative Scrapbook I've put together another step-by-step tutorial for one of my layouts. This month I received the February Creative Kit to play with, featuring the Hearth and Home collection from Simple Stories combined with stamps from Amy Tangerine, which I loved!  

This is the layout for which I wrote my step-by-step instructions: 


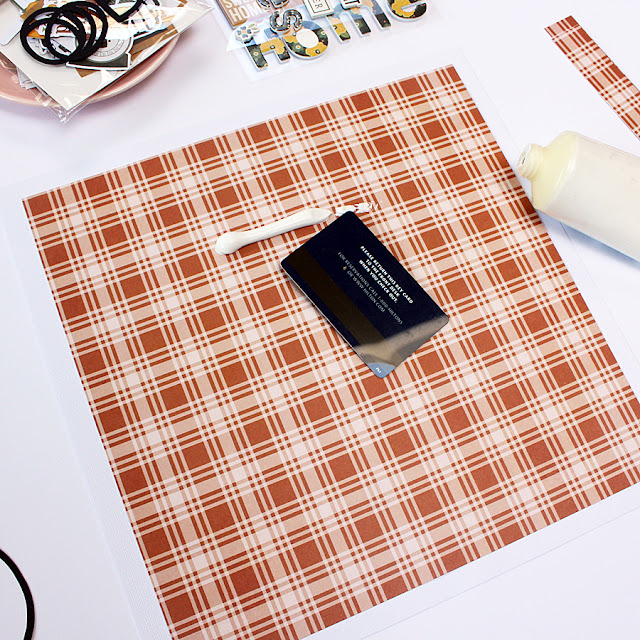
Last month I showed you how I created the white gesso background using the transfer technique using a piece of plastic packaging. So I thought that for today I would show you how I created this background using a small (inexpensive) plastic card (i.e. a hotel room card). 
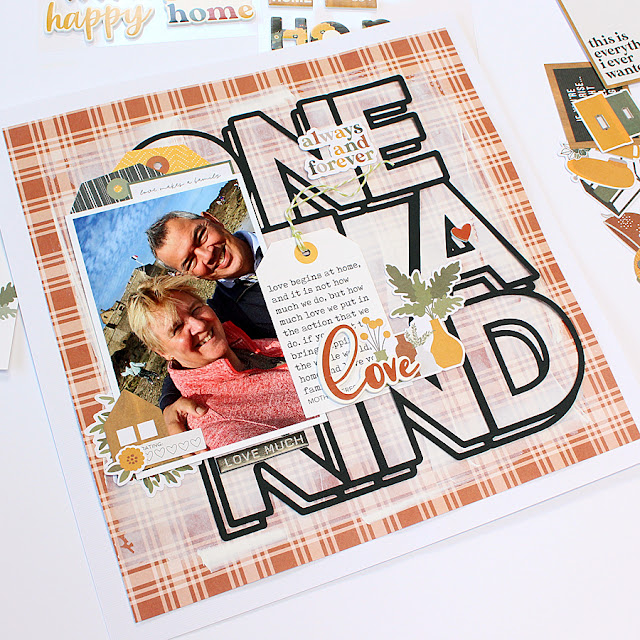
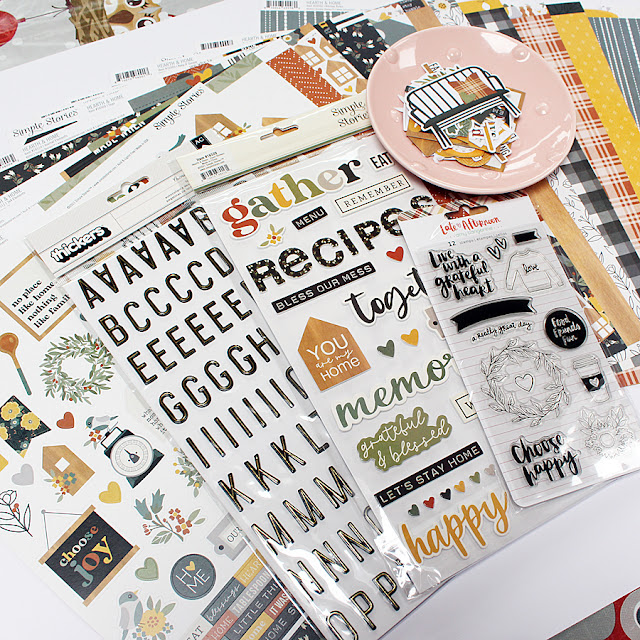
First I unpacked this month's kit, the February Creative Kit. Look how beautiful! 


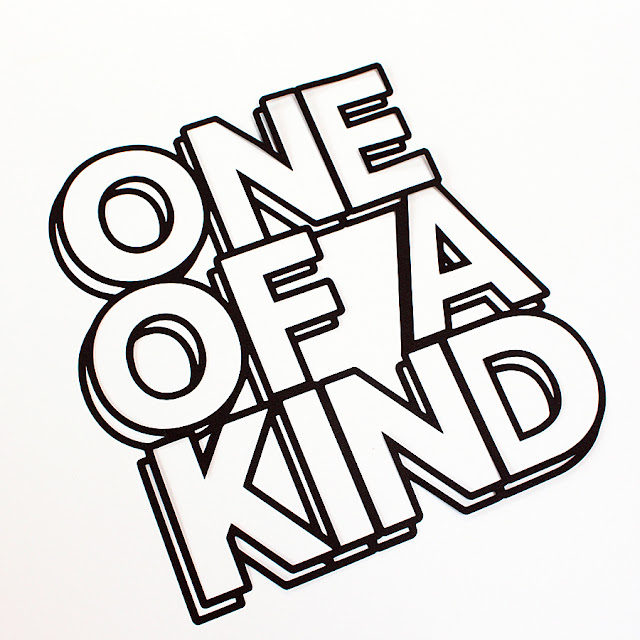
Next I cut one of the awesome free subscriber cut files from a sheet of black cardstock. I chose "one of a kind":


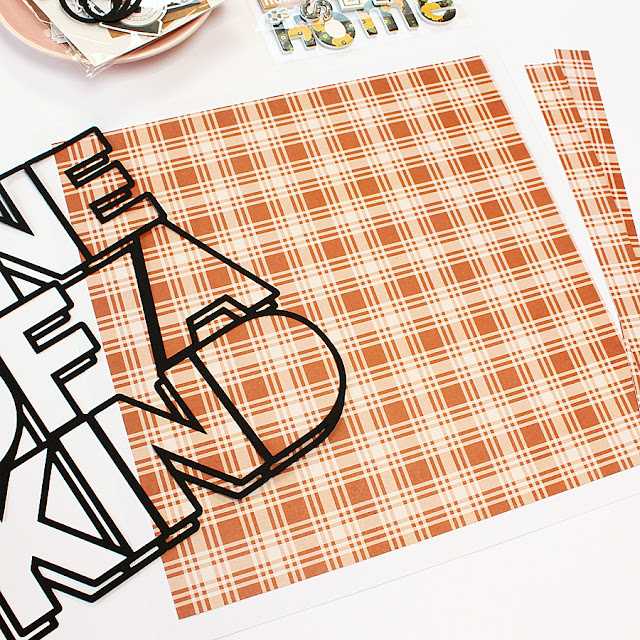
For my layout I chose the patterned paper called "Seasoned with love" for my background. I cut off a 1" strip of the paper from the right side and from the top and adhered the resulting 11" x 11" paper on a sheet of white cardstock:


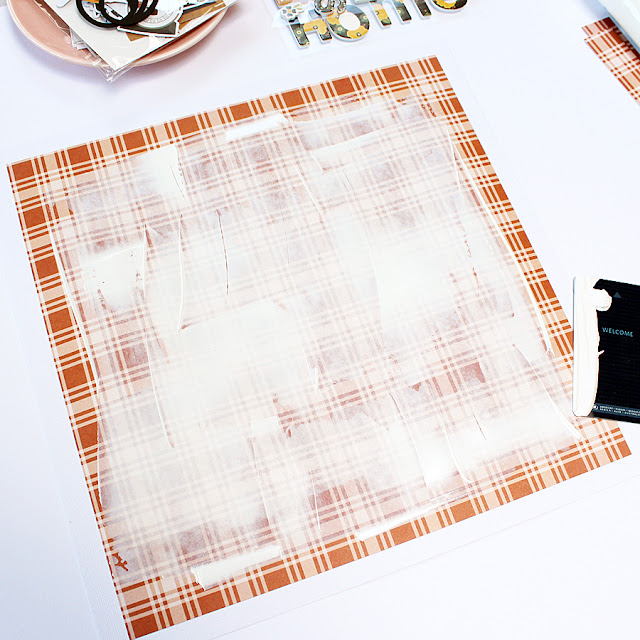
I got out a tube of white gesso and a hotel room card:


I applied a thin row of white gesso at the top of my layout: 


And I used the hotel room card to spread the gesso (not so) evenly over my page:


The gesso needed to dry for a while (I used my heat gun for a bit) before I could continue. 
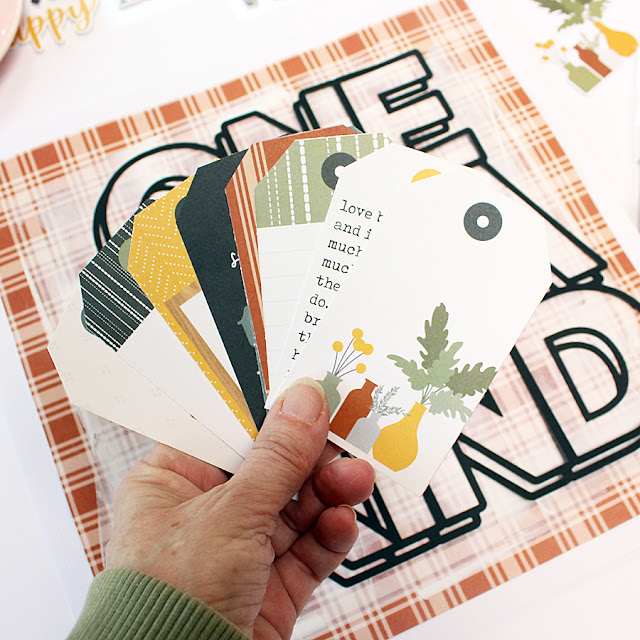
I selected a photo and decided on the place where to put my cut file. Next I selected three tags of the sheet with the 15 fabulous tags that is included in this collection. This wasn't easy as there are so many of them: 


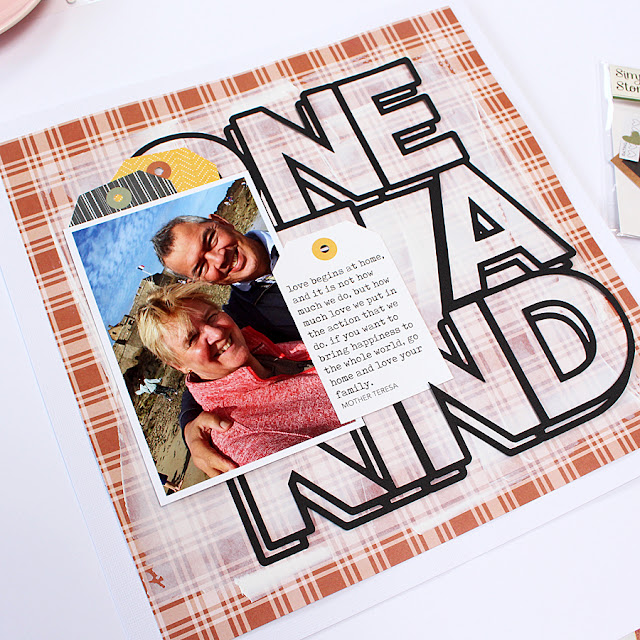
I placed the photo on the left side of the cut file, partly on the cut file and placed two of the tags at the top of the photo and one of the right side. I loved the text on this tag and wanted to give it a prominent place on my page: 


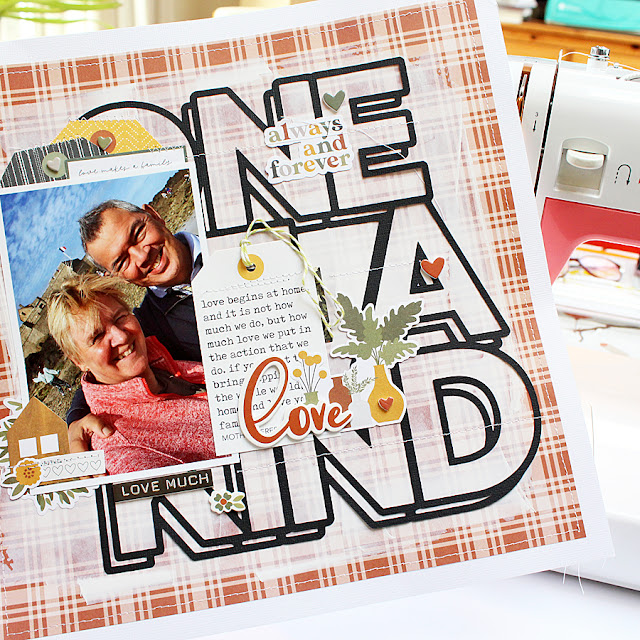
Next I embellished my page with die-cuts, stickers and some twine: 


Of course I added some machine stitching. This doesn't only make my layout look better, but also ensures nothing will fall off later (in a couple of years). 


After stamping the date (twice) and noting where the photo was taken my layout was done!

Here are some close-ups:


Thank you so much for stopping by the blog today! I hope I've been able to inspire you to give this kit a try (don't forget to share if you do!)! 

Here's a photo of the February Creative Kit I used: 


For more information about this kit (and the other 3 kits of this month) please visit the My Creative Scrapbook website and if you want to see the photos of all projects created by the design team with the various kits, please visit the Design Team Gallery.

Wishing you all a wonderful day! 

xxx Monique