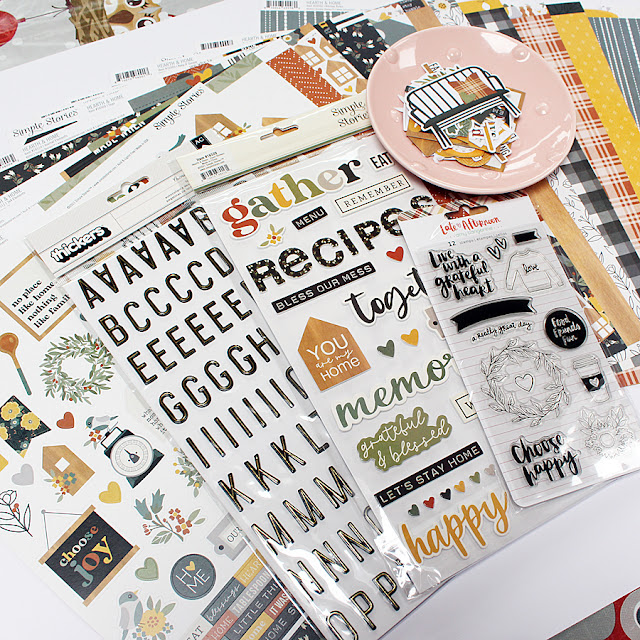
Hello friends! Thank you so much for stopping by my blog today. For My Creative Scrapbook I've put together another step-by-step tutorial for one of my layouts. This month I received the February Creative Kit to play with, featuring the Hearth and Home collection from Simple Stories combined with stamps from Amy Tangerine, which I loved!
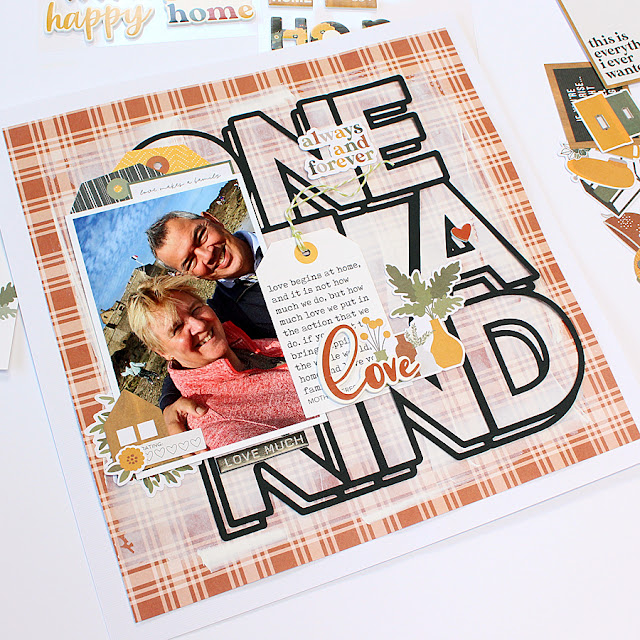
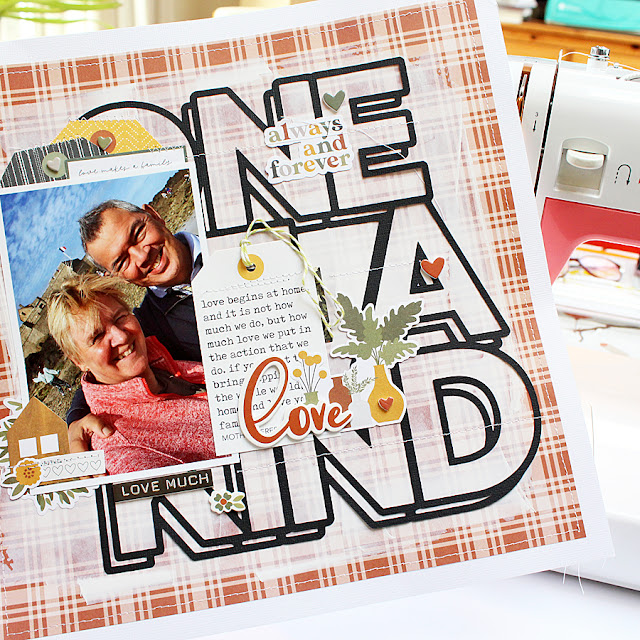
This is the layout for which I wrote my step-by-step instructions:
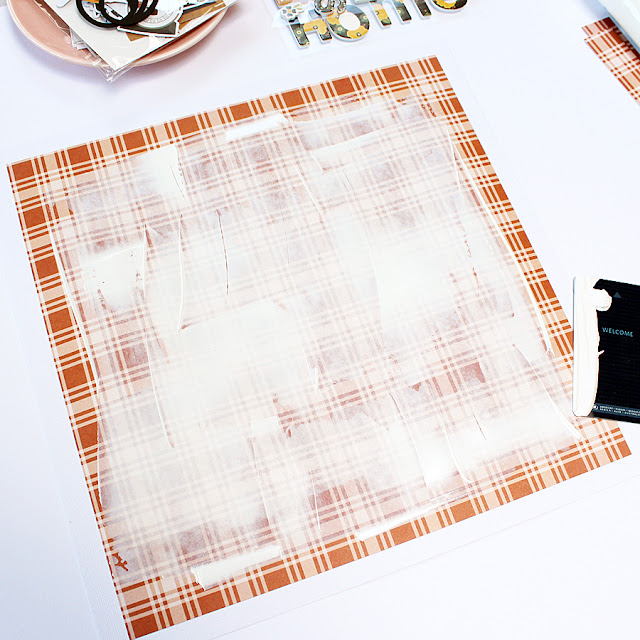
Last month I showed you how I created the white gesso background using the transfer technique using a piece of plastic packaging. So I thought that for today I would show you how I created this background using a small (inexpensive) plastic card (i.e. a hotel room card).
Next I cut one of the awesome free subscriber cut files from a sheet of black cardstock. I chose "one of a kind":
For my layout I chose the patterned paper called "Seasoned with love" for my background. I cut off a 1" strip of the paper from the right side and from the top and adhered the resulting 11" x 11" paper on a sheet of white cardstock:
I got out a tube of white gesso and a hotel room card:
I applied a thin row of white gesso at the top of my layout:
And I used the hotel room card to spread the gesso (not so) evenly over my page:
The gesso needed to dry for a while (I used my heat gun for a bit) before I could continue.
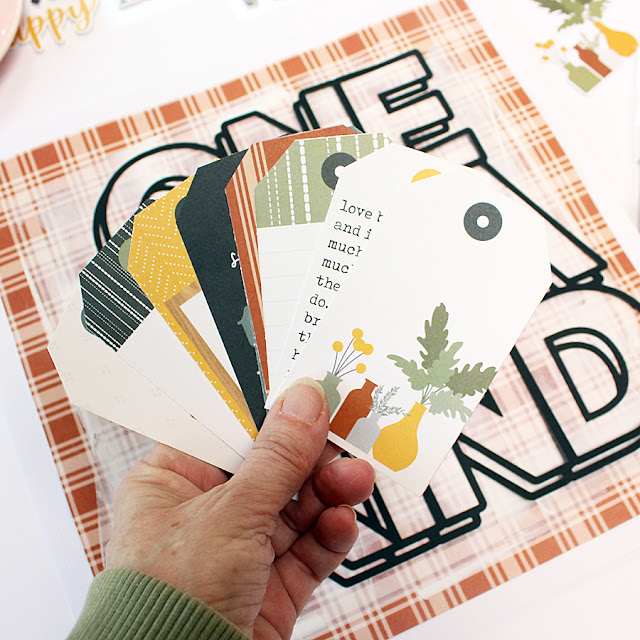
I selected a photo and decided on the place where to put my cut file. Next I selected three tags of the sheet with the 15 fabulous tags that is included in this collection. This wasn't easy as there are so many of them:
I placed the photo on the left side of the cut file, partly on the cut file and placed two of the tags at the top of the photo and one of the right side. I loved the text on this tag and wanted to give it a prominent place on my page:
Next I embellished my page with die-cuts, stickers and some twine:
Of course I added some machine stitching. This doesn't only make my layout look better, but also ensures nothing will fall off later (in a couple of years).
Here are some close-ups:
Thank you so much for stopping by the blog today! I hope I've been able to inspire you to give this kit a try (don't forget to share if you do!)!
Here's a photo of the February Creative Kit I used:
For more information about this kit (and the other 3 kits of this month) please visit the My Creative Scrapbook website and if you want to see the photos of all projects created by the design team with the various kits, please visit the Design Team Gallery.
Wishing you all a wonderful day!
xxx Monique








No comments:
Post a Comment