Hello friends! Today I've got a step-by-step tutorial which I made for one of the layouts I created using the beautiful September Creative Kit from My Creative Scrapbook and one of the free subscriber cut files. This month the Creative Kit features the "Farmhouse Summer" collection from Carta Bella Paper/Echo Park Paper.
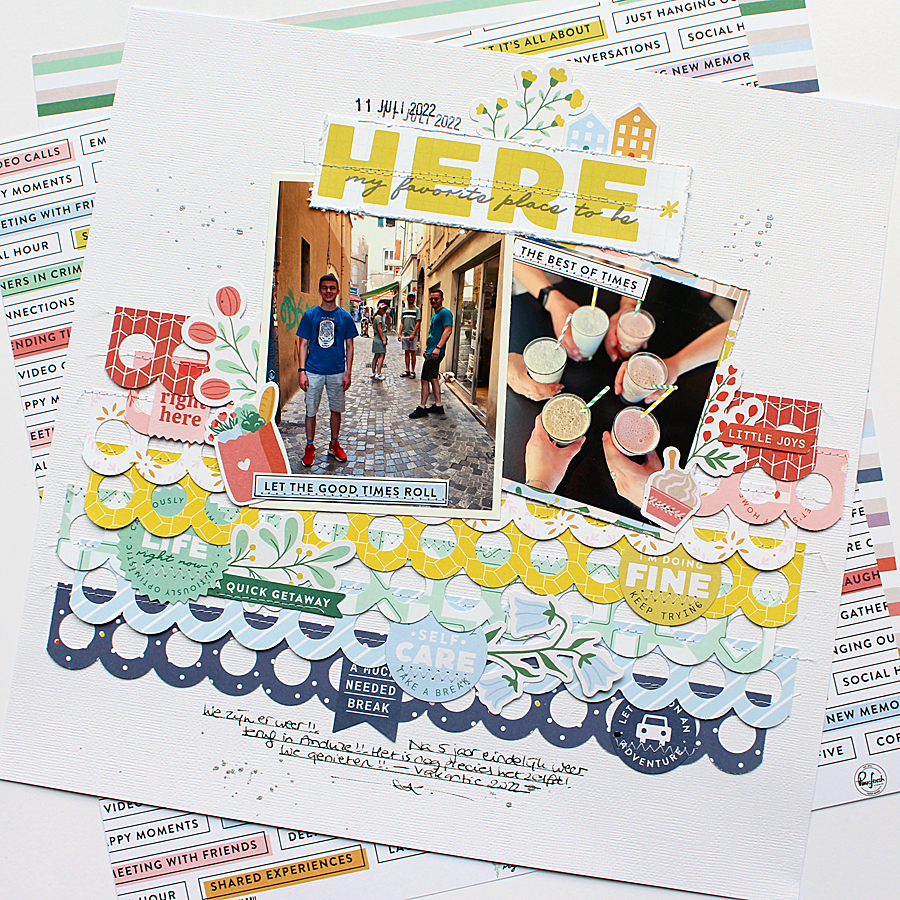
Here's the layout I created the step-by-step for:

I started with displaying the products I had left over from the kit after creating three layouts already:

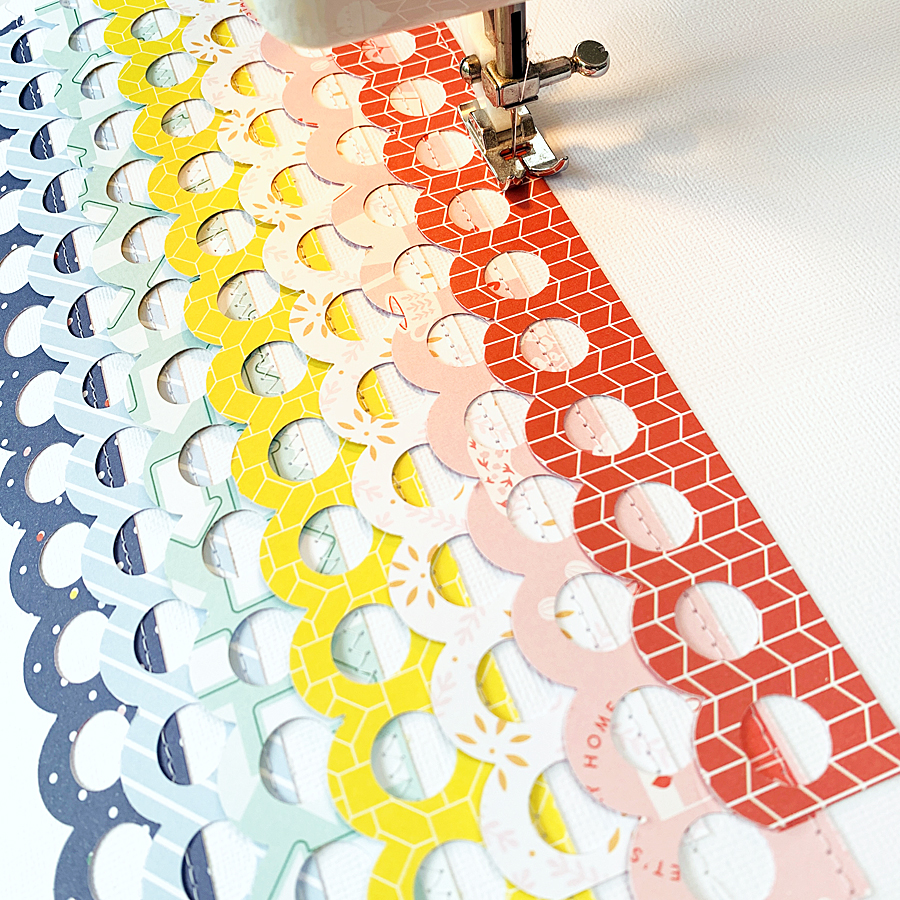
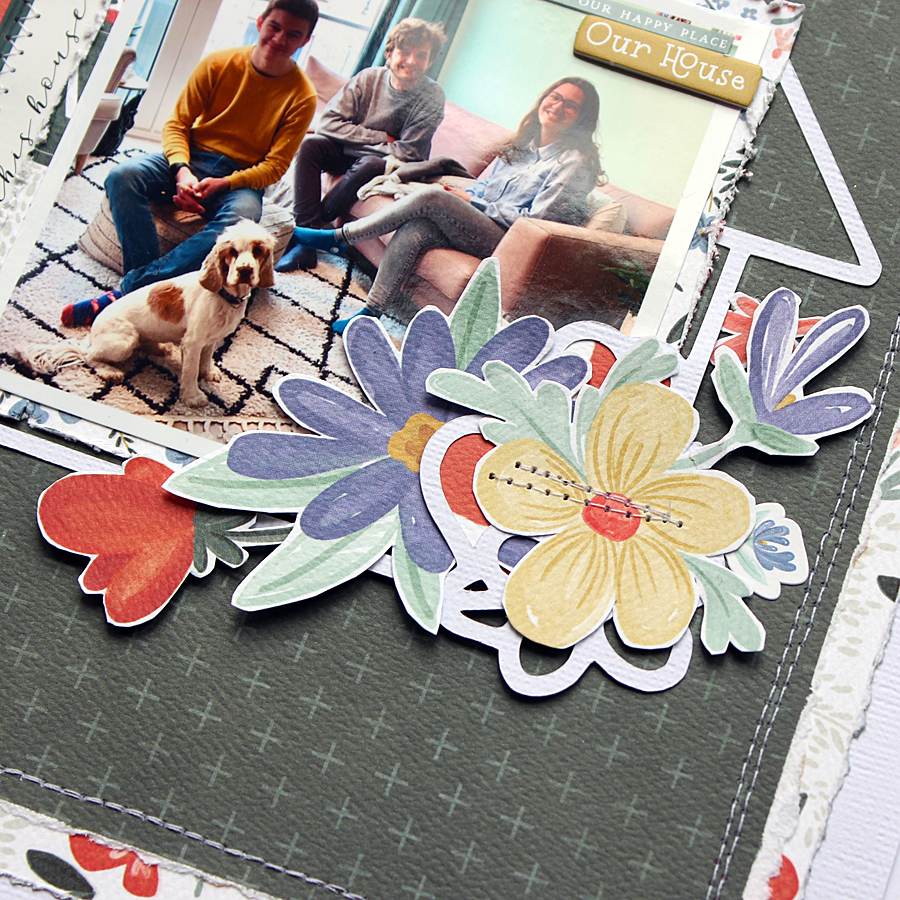
For this layout I cut out one of the free subscriber cutfiles from Pearttree Cutfiles called "Heart of the Home" (it's an old one from September last year) using my Silhouette and placed this on a sheet of dark green patterned paper called "Simple Summer Flower". I chose a photo of my daughter and her partner in their brand new home (and my youngest, as we were visiting):

From all four sides of the patterned paper I tore off thin strips of paper using a metal ruler to get distressed edges:

Next I matted the photo, but before adhering I distressed the edges of this paper as well:


Loving the soft colors of these flowers!


After arranging and re-arranging my photo I came to the conclusion that I needed another small photo to place above my original photo. I printed one of our Cocker Spaniel, who was also visiting.

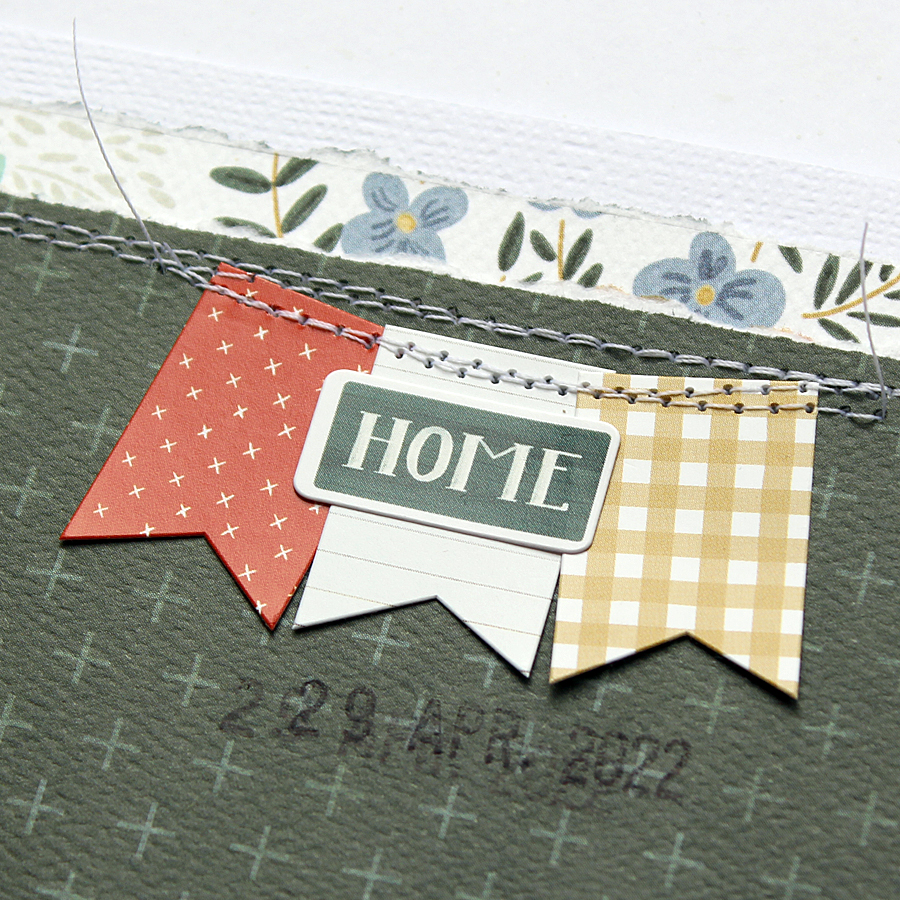
I decided to place the green base of my layout on a sheet with small flowers, which is the B-side of the sheet called "Multi Journaling Cards".

And that's it!
Here are a few close-ups:


Hope you like it!
Here's a photo of the June Creative Kit I used:

For more information about this kit (and the other 3 kits of this month) please visit the My Creative Scrapbook website and if you want to see the photos of all projects created by the design team with the various kits, please visit the Design Team Gallery.
Wishing you all a wonderful day!
xxx Monique
.jpg)